Table of Contents
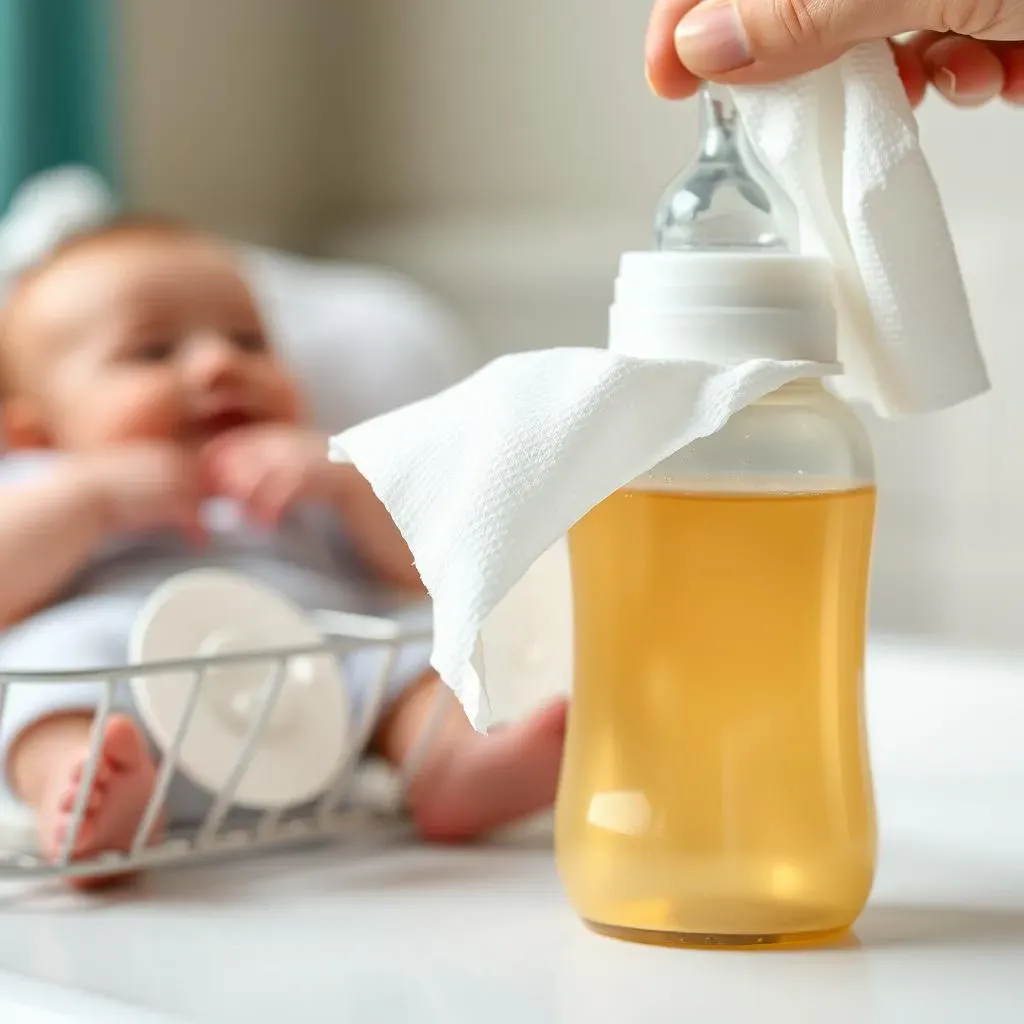
When it comes to caring for your little one, every detail matters, especially when it involves feeding. You're meticulous about sterilizing baby bottles, but what about drying them? You might be wondering, "Can I dry baby bottles with paper towel?" It seems like a quick and convenient solution, but is it really the best—or even a safe—option? This article dives into the potential pitfalls of using paper towels to dry baby bottles and explores safer, more hygienic methods to ensure your baby's health. We'll walk you through why proper drying techniques are crucial, the risks associated with paper towels, and the most effective ways to keep those bottles clean and ready for your precious one. From air drying to specialized equipment, you'll get all the info you need to make informed choices. So, let's get started and ensure your baby's feeding routine is as safe as it is nurturing!
Why Drying Baby Bottles the Right Way Matters
Why Drying Baby Bottles the Right Way Matters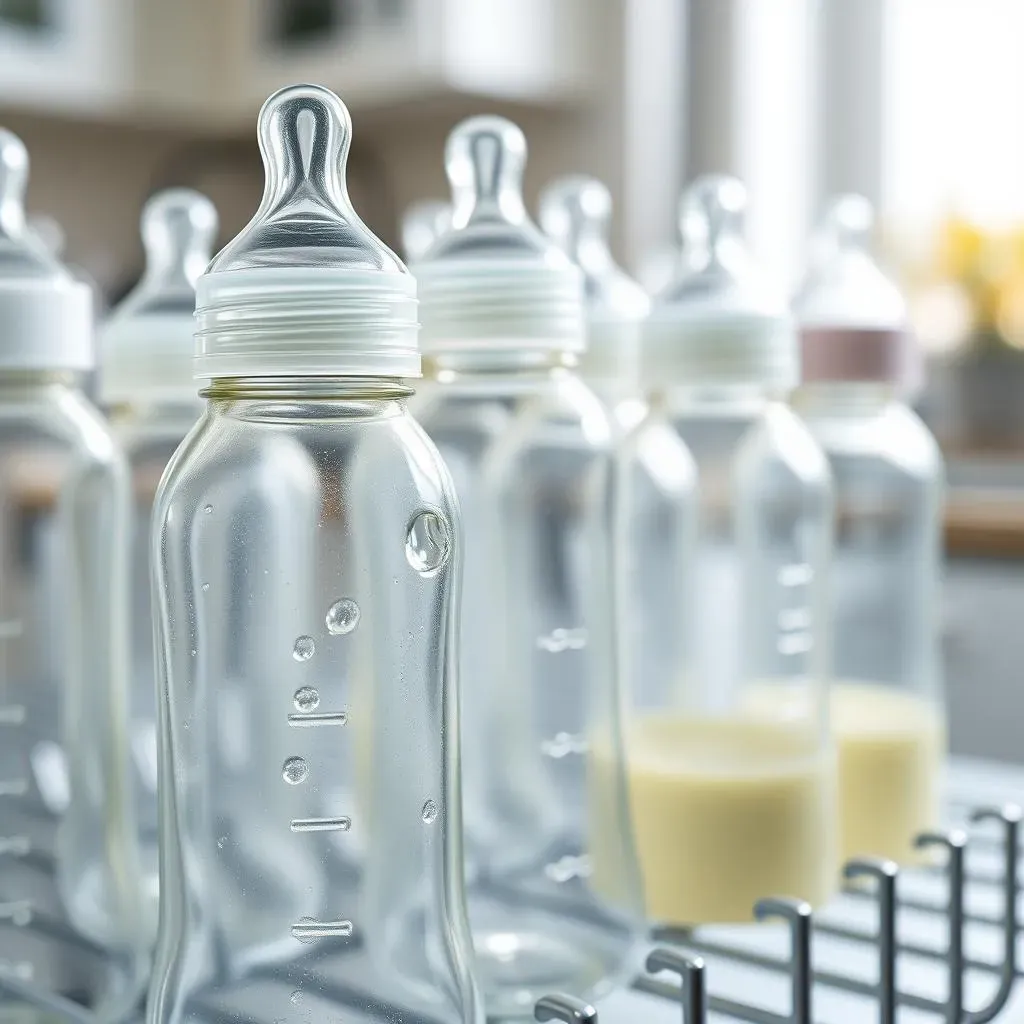
You might think, "It's just drying, right? What's the big deal?" But when it comes to baby bottles, how you dry them is just as crucial as how you wash them. Why? Because a damp bottle is like a five-star resort for bacteria and mold. These unwanted guests can multiply rapidly, turning your baby's next meal into a potential health hazard. We're talking about possible tummy troubles, infections, and a whole lot of unnecessary fussiness. And let's be honest, who needs more of that? Proper drying eliminates the moisture that these germs thrive on, significantly reducing the risk of contamination.
Can You Dry Baby Bottles with Paper Towels? The Potential Problems
Can You Dry Baby Bottles with Paper Towels? The Potential Problems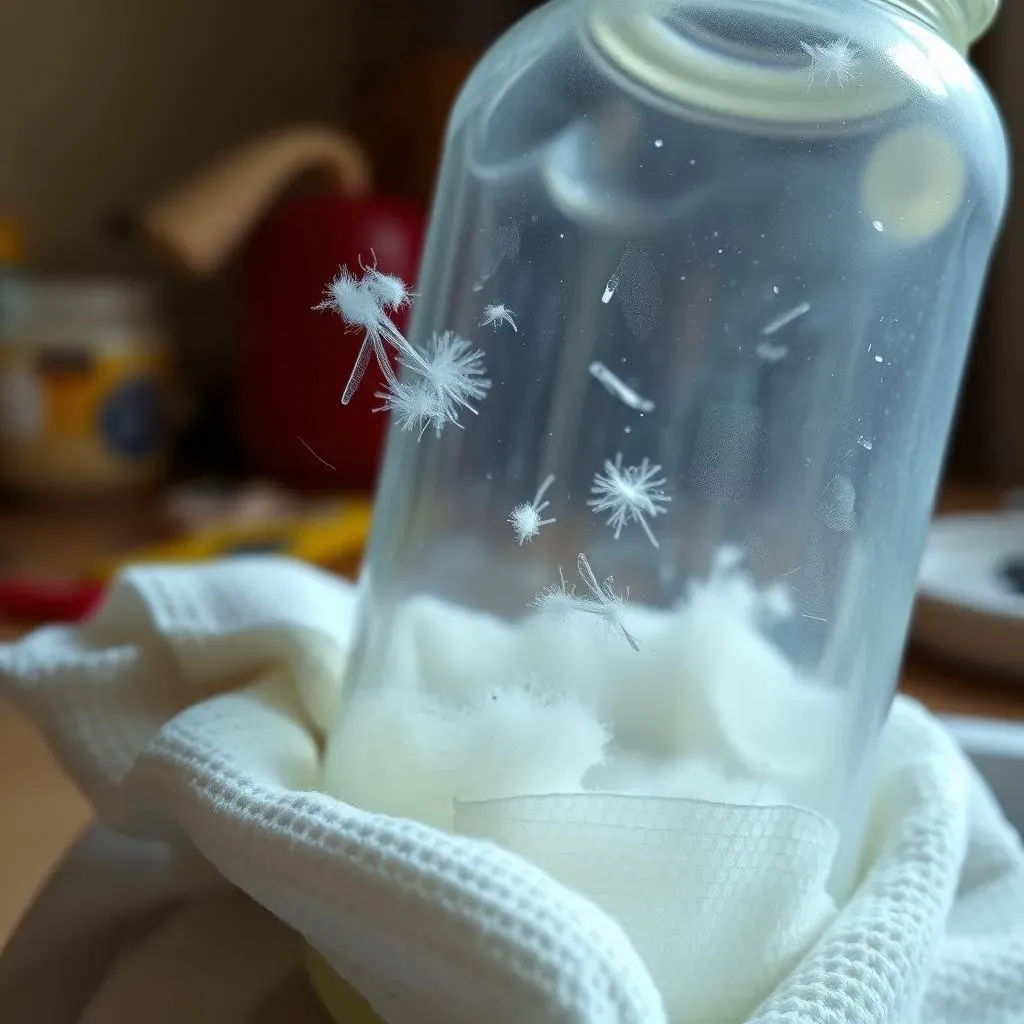
Lingering Lint: The Unseen Hazard
So, you reach for a paper towel to quickly dry those bottles. Seems harmless, right? Think again. Paper towels, no matter how soft they feel, can leave behind tiny fibers. These little guys might seem insignificant, but they can cling to the inside of the bottle. Now, imagine your baby ingesting those fibers. Not a pretty picture, is it? While a few fibers here and there probably won't cause a major health crisis, consistent exposure isn't ideal for your little one's delicate system. Plus, who wants their baby's bottle to look like it's growing a fuzzy beard on the inside?
Beyond the ick factor, these fibers can also be a breeding ground for bacteria. They create a textured surface where moisture can hide, providing the perfect environment for germs to set up shop. It's like giving those nasty microbes a cozy little apartment inside your baby's bottle. And trust me, they won't be paying rent.
Questionable Cleanliness: Are Paper Towels Really Sanitary?
Let's talk about the paper towels themselves. When was the last time you thought about where they've been and what they've touched? Probably not since you grabbed them from the roll. Paper towels are often stored in places where they can pick up dust, germs, and other contaminants. Think about it: they sit on counters, hang in bathrooms, and sometimes even end up on the floor. Then, you're using them on something that's going directly into your baby's mouth.
Even if the paper towels seem clean, they might not be as sanitary as you think. The very act of pulling a paper towel off the roll can introduce bacteria. And if you're using a shared roll, who knows what everyone else has touched before you? It's a bit of a germ buffet, and your baby's bottle is the main course. So, while paper towels might seem convenient, they could be adding more problems than they solve.
The Best Ways to Dry Baby Bottles Safely and Hygienically
The Best Ways to Dry Baby Bottles Safely and Hygienically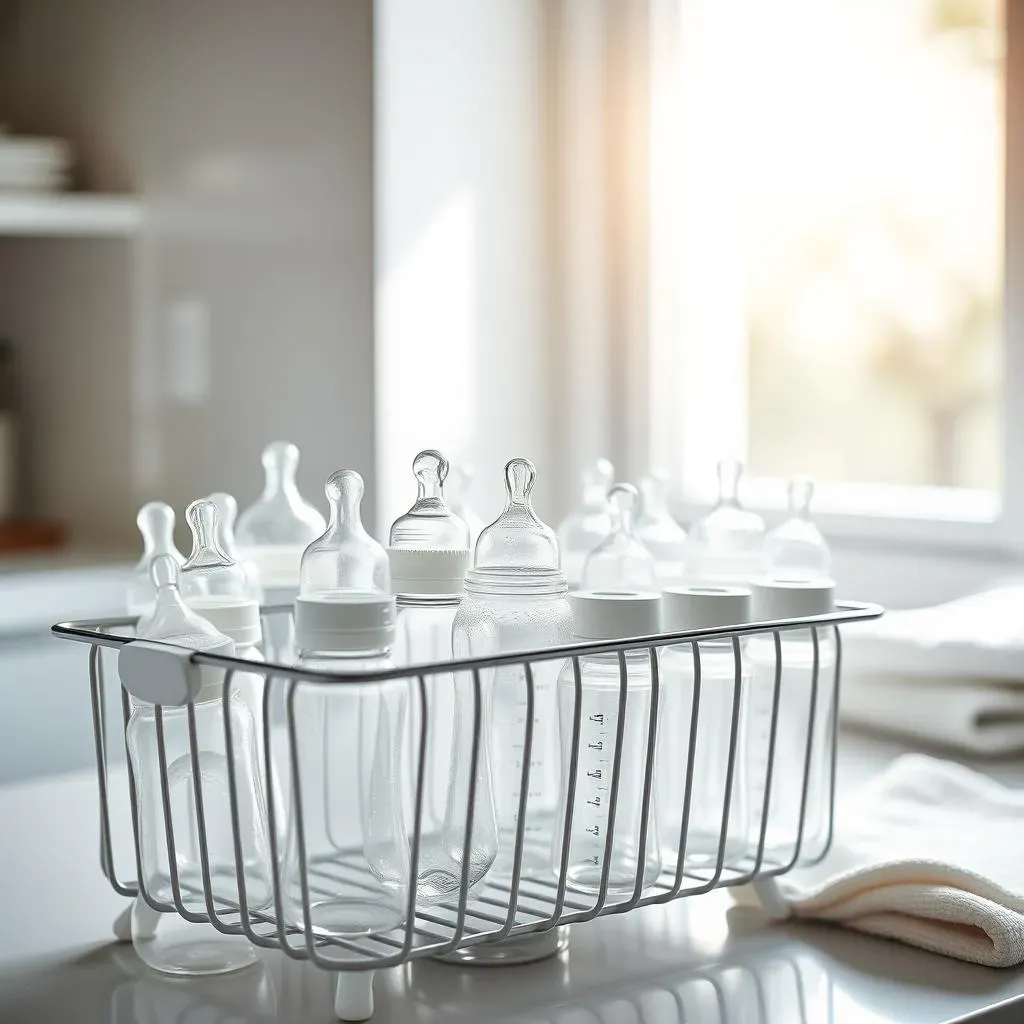
Air Drying: The Gold Standard
When it comes to drying baby bottles, air drying is often considered the gold standard. Why? Because it minimizes the risk of introducing new contaminants. After washing and sterilizing your bottles, simply shake off any excess water and place them on a clean, dedicated drying rack. Make sure the bottles are completely disassembled—nipples, rings, and bottles separated—to allow for thorough drying. The key is to find a spot that's well-ventilated and away from potential sources of dust or splashes. Think of it as giving your bottles a little spa day, letting them air out in a pristine environment.
For added protection, you can invest in a drying rack with a cover or place the rack in an area that's naturally clean, like near a window that gets plenty of sunlight. Sunlight can act as a natural disinfectant, helping to kill any lingering germs. Just be sure to avoid direct sunlight for extended periods, as it can degrade the plastic over time. With a little patience and the right setup, air drying can be a simple and effective way to keep your baby's bottles clean and safe.
Dedicated Drying Racks: Your Bottle's Best Friend
Let's face it, not all drying racks are created equal. Using a regular dish rack might seem convenient, but it can also be a breeding ground for bacteria if it's not properly cleaned and maintained. That's where dedicated baby bottle drying racks come in. These racks are specifically designed with features that promote hygienic drying. They often have separate compartments for bottles, nipples, and other small parts, allowing for better airflow and preventing items from touching and potentially contaminating each other.
When choosing a drying rack, look for one that's easy to clean and made from BPA-free materials. Some racks even come with built-in reservoirs to collect excess water, preventing it from dripping onto your countertops and creating another potential source of contamination. Regular cleaning is essential, so opt for a rack that can be easily disassembled and washed, either by hand or in the dishwasher. A good drying rack is an investment in your baby's health and your peace of mind.
- Look for racks with good ventilation.
- Choose BPA-free materials.
- Easy to clean.
Clean Microfiber Cloths: If You Must Towel Dry
so air drying is ideal, but sometimes you're in a rush and need those bottles dried ASAP. If you absolutely must use a towel, reach for a clean microfiber cloth. Unlike regular towels or paper towels, microfiber cloths are designed to be lint-free and highly absorbent. This means they're less likely to leave behind those pesky fibers we talked about earlier. Plus, they're generally more hygienic than other types of towels, as they can trap and remove bacteria more effectively.
However, it's crucial to use a dedicated microfiber cloth that's only used for drying baby bottles and related items. Keep it stored in a clean, dry place and wash it frequently—ideally after each use. Avoid using fabric softeners or scented detergents when washing the cloth, as these can leave behind residues that could be harmful to your baby. And remember, even with a clean microfiber cloth, it's still best to air dry whenever possible. Think of towel drying as a backup plan, not the main event.
Cloth Type | Lint Risk | Absorbency | Hygiene |
|---|---|---|---|
Microfiber | Low | High | Good (if cleaned regularly) |
Regular Towel | Medium to High | Medium | Moderate |
Paper Towel | Medium | Low to Medium | Questionable |
Sterilizing and Drying: A StepbyStep Guide for Bottle Care
Sterilizing and Drying: A StepbyStep Guide for Bottle Care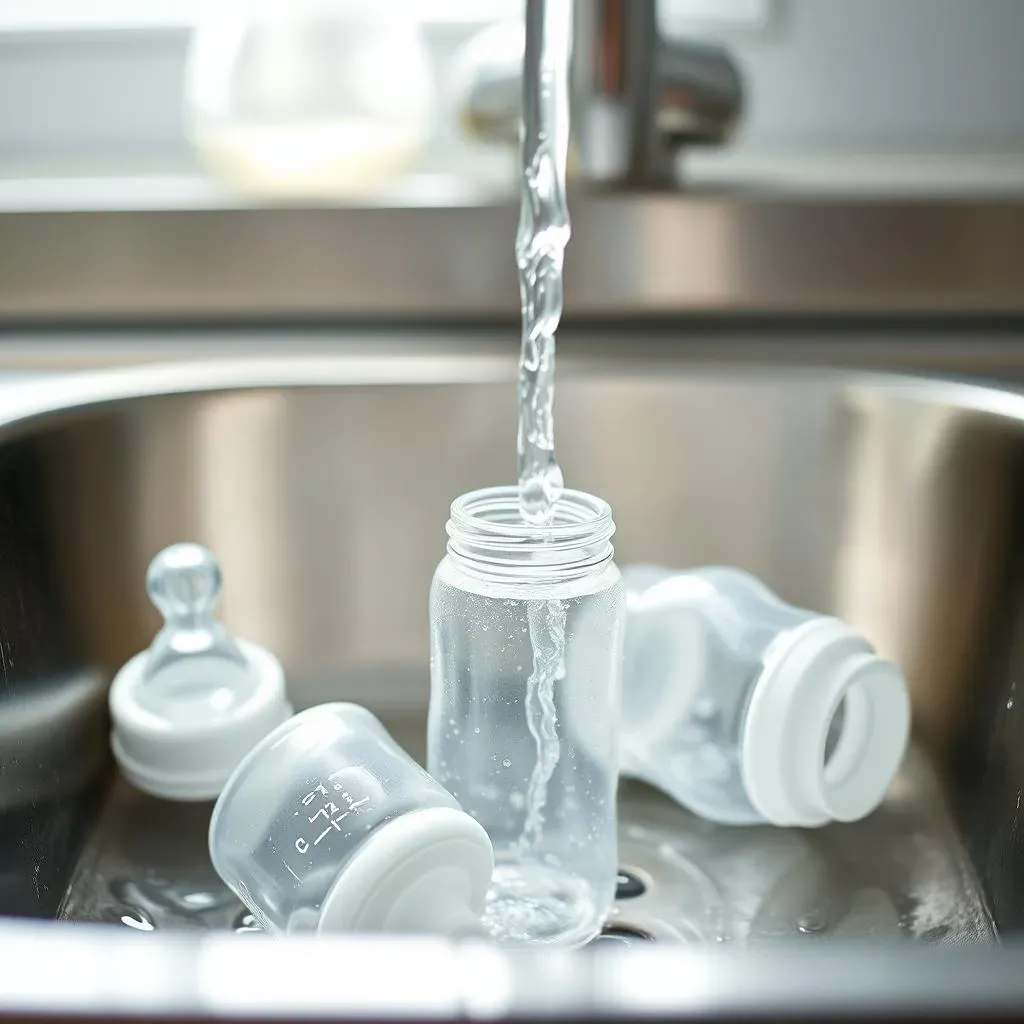
Step 1: Disassembling and Rinsing
Alright, future parent, let's dive into the nitty-gritty of bottle care. First things first: disassembly. Take apart every single piece of that bottle – nipple, ring, bottle body, the works. This ensures no hidden milk residue gets left behind. Then, give each part a thorough rinse under warm, running water. This gets rid of any initial gunk before you even start washing. Think of it as a pre-wash rinse, like you would with your dishes. It makes the whole process way more effective. And hey, a little extra effort now means fewer germs later!
Pay special attention to the nipple. Turn it inside out and scrub away any milk buildup with your fingers or a dedicated nipple brush. Those little crevices are prime real estate for bacteria, so don't skimp on the scrubbing. Once everything's rinsed, you're ready to move on to the main event: washing and sterilizing. Get ready to bid those germs farewell!
Step 2: Washing and Sterilizing
Now that everything's rinsed, it's time to bring in the big guns: washing and sterilizing. You've got a couple of options here. You can either hand-wash the bottles with hot, soapy water, using a dedicated bottle brush to scrub every nook and cranny. Or, if you're short on time (and let's face it, who isn't?), you can toss them in the dishwasher. Just make sure to place them on the top rack to avoid melting or warping.
Once the bottles are washed, it's time for the grand finale: sterilization. There are several ways to sterilize baby bottles, each with its own pros and cons. You can boil them in water for five minutes, use a steam sterilizer, or even pop them in a microwave sterilizer. Whichever method you choose, make sure to follow the manufacturer's instructions carefully. Sterilization is key to killing any lingering bacteria and ensuring your baby's bottles are squeaky clean and ready for their next meal.
- Boiling: Simple, but requires supervision.
- Steam Sterilizer: Convenient and effective.
- Microwave Sterilizer: Quick, but check compatibility.
Alternative Drying Methods & Maintaining a Clean Feeding Routine
Alternative Drying Methods & Maintaining a Clean Feeding Routine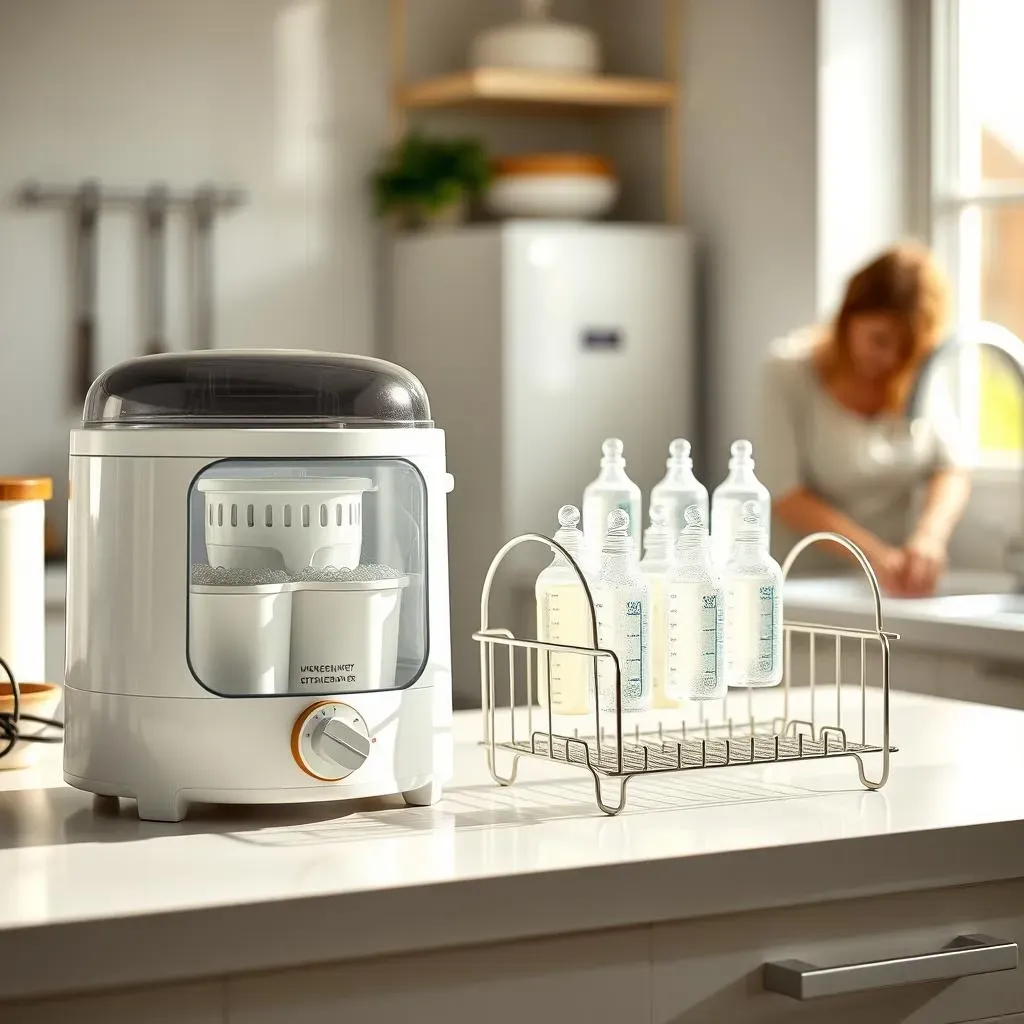
so we've covered the basics of safe bottle drying, but what if you're looking for even more options or ways to streamline your routine? There are a few alternative drying methods that can be just as effective. For instance, some parents swear by UV sterilizers and dryers, which use ultraviolet light to kill bacteria and dry bottles simultaneously. These devices can be a bit of an investment, but they offer a high level of hygiene and convenience. Another option is to use a dishwasher with a sanitizing cycle. The high heat and powerful spray can effectively clean and dry bottles, saving you time and effort. Just make sure your bottles are dishwasher-safe and that you place them on the top rack to avoid damage.
Maintaining a clean feeding routine goes beyond just drying the bottles, and it's about establishing habits that minimize the risk of contamination. Always wash your hands thoroughly before handling bottles or preparing formula. Prepare formula fresh for each feeding, rather than making a large batch ahead of time. And regularly inspect bottles and nipples for any signs of damage or wear. A little extra care can go a long way in protecting your baby's health and ensuring a happy, healthy feeding experience. Remember, it's all about creating a safe and nurturing environment for your little one to thrive.
Method | Pros | Cons |
|---|---|---|
UV Sterilizer/Dryer | High level of hygiene, convenient | Can be expensive |
Dishwasher (with sanitizing cycle) | Saves time and effort | Requires dishwasher-safe bottles |
Air Drying (on dedicated rack) | Simple, minimizes contamination | Requires patience |
Wrapping Up: Safe Drying for Happy Feeding
So, can you dry baby bottles with paper towels? While it might seem like a convenient option, the risks of contamination and lint residue make it less than ideal. Prioritizing safe and hygienic drying methods, such as air drying on a dedicated rack or using a clean, lint-free cloth, is a small effort that makes a big difference in your baby's health. By following these guidelines, you can ensure that every feeding is not only nutritious but also safe from harmful bacteria and irritants. Here's to happy, healthy feeding for your little one!