Table of Contents
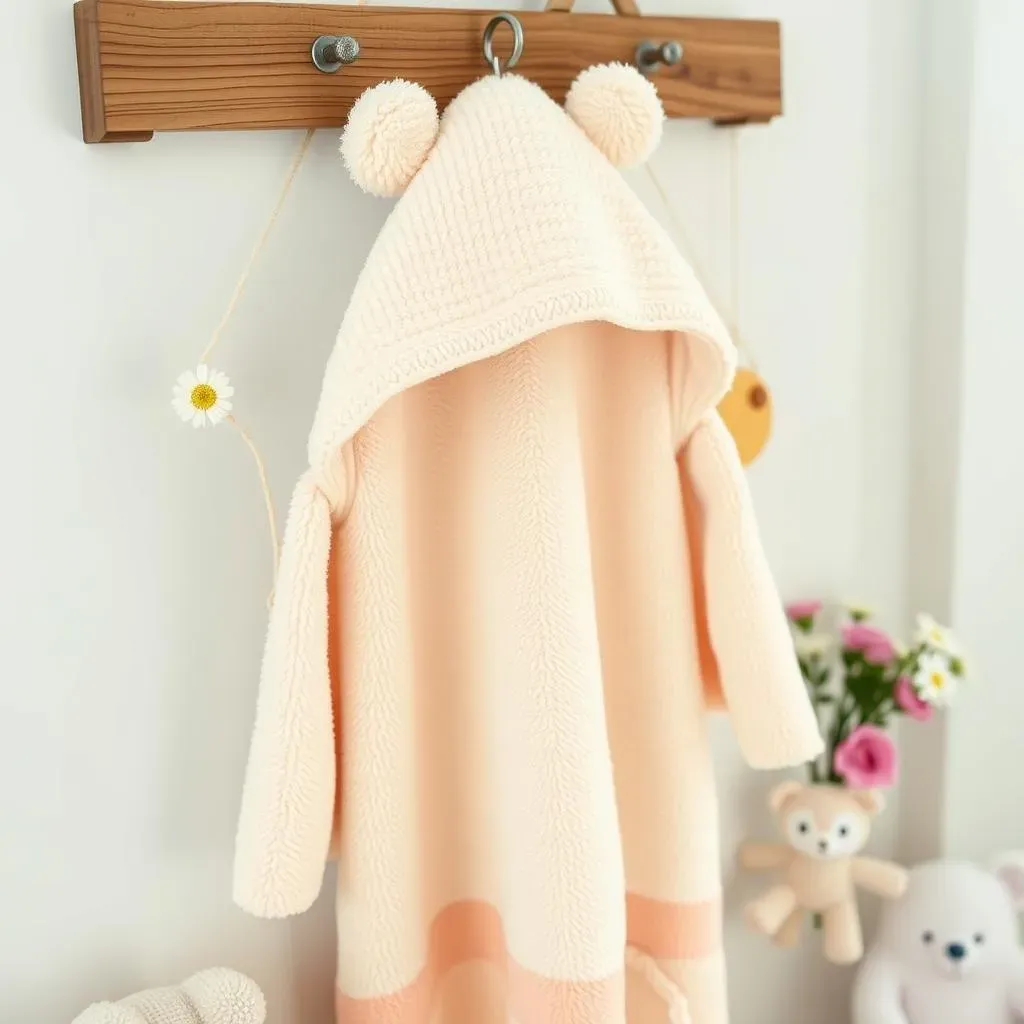
Ever received a gift so thoughtful, it sparked a creative fire? I did! It was a handmade hooded baby towel, and it wasn't just adorable; it was a symbol of love and care. That's the feeling I want to share with you today. If you're looking for a heartwarming DIY project, or maybe a unique baby shower present, you're in the right place. We're diving into creating your own cozy hooded baby towel, and guess what? It's easier than you might think! This isn't just about sewing fabric; it's about crafting something special with your own hands. This tutorial is perfect for beginners, focusing on clear, step-by-step instructions and helpful photos. We'll cover everything from gathering your materials, to cutting the fabric, sewing the hood, and adding the final touches. By the end, you'll not only have a beautiful, functional hooded baby towel, but also the satisfaction of making it yourself. So, grab your supplies, and let's get started with this fun hooded baby towel pattern!
Gather Your Supplies for the Hooded Baby Towel Pattern
Gather Your Supplies for the Hooded Baby Towel Pattern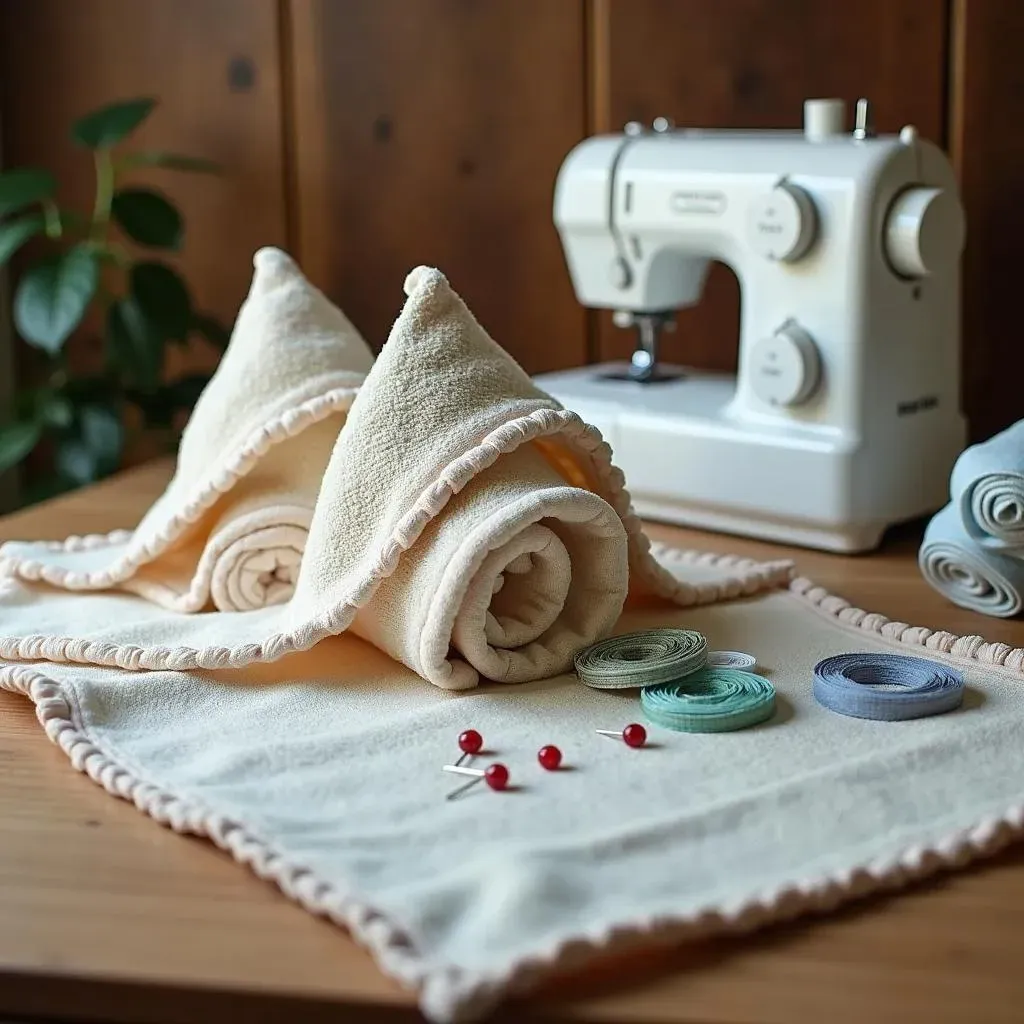
The Essential Towel Trio
Alright, let's talk towels! You'll need a big, fluffy bath towel – think of it as the main stage for our cozy creation. Then, grab a hand towel; this one's going to transform into the adorable hood. I like to use a hand towel that complements the bath towel, but it's your show, so feel free to mix it up! Finally, don’t forget a washcloth if you plan to make a matching set; it adds a sweet touch. I remember when I made my first one, I accidentally grabbed a kitchen towel instead of a hand towel. Let's just say the hood was a bit...stiff. So, double-check those towels!
Beyond the towels, you'll need a few basic sewing supplies. Scissors are a must; those fabric scissors will be your best friend here. A rotary cutter and mat can also be a time saver, especially if you're tackling a few of these. Don't forget pins, because they keep everything in place, and a sewing machine. I've tried hand-sewing a whole towel before, and trust me, the machine is worth its weight in gold. Lastly, pick out some rick-rack or trim. It's like adding a little sparkly accessory to your outfit, it makes it more fun!
Supply | Purpose | My Recommendation |
|---|---|---|
Bath Towel | Main body of the towel | Soft, absorbent, and large enough for a baby or toddler |
Hand Towel | To make the hood | Coordinating or contrasting color, soft texture |
Washcloth (optional) | Matching Washcloth | Soft, absorbent, and same color |
Scissors | Cutting fabric | Sharp fabric scissors |
Rotary Cutter & Mat | Cutting fabric (optional) | Helpful for straight cuts |
Pins | Securing fabric | Straight pins with ball heads |
Sewing Machine | Sewing fabric | Any basic sewing machine will work |
Rick-rack or Trim | Decorating the edge | Choose a color and style you like |
Tools and Trims
Now, let's get into the nitty-gritty of the tools. You'll need a good set of pins. Those little guys are like the unsung heroes of sewing, holding everything together while you work your magic. Also, a sewing machine is a must-have. I know some people prefer hand-sewing, but for a towel, a machine will save you a lot of time, and your fingers will thank you. Remember, you don't need a fancy, top-of-the-line machine. Any basic model will do the trick.
Lastly, let's talk about the fun part: the trims! Rick-rack is my go-to because it's so easy to work with and adds a playful touch. But, you can use any kind of trim you like – lace, pom-poms, or even a fun patterned ribbon. It's all about making it yours. When I made one for my niece, I added little embroidered stars along the edge, and she absolutely loved it. So, don't be afraid to get creative with your trims! It's your chance to add some personality to your hooded towel.
Cutting and Preparing the Hood for Your Baby Towel
Cutting and Preparing the Hood for Your Baby Towel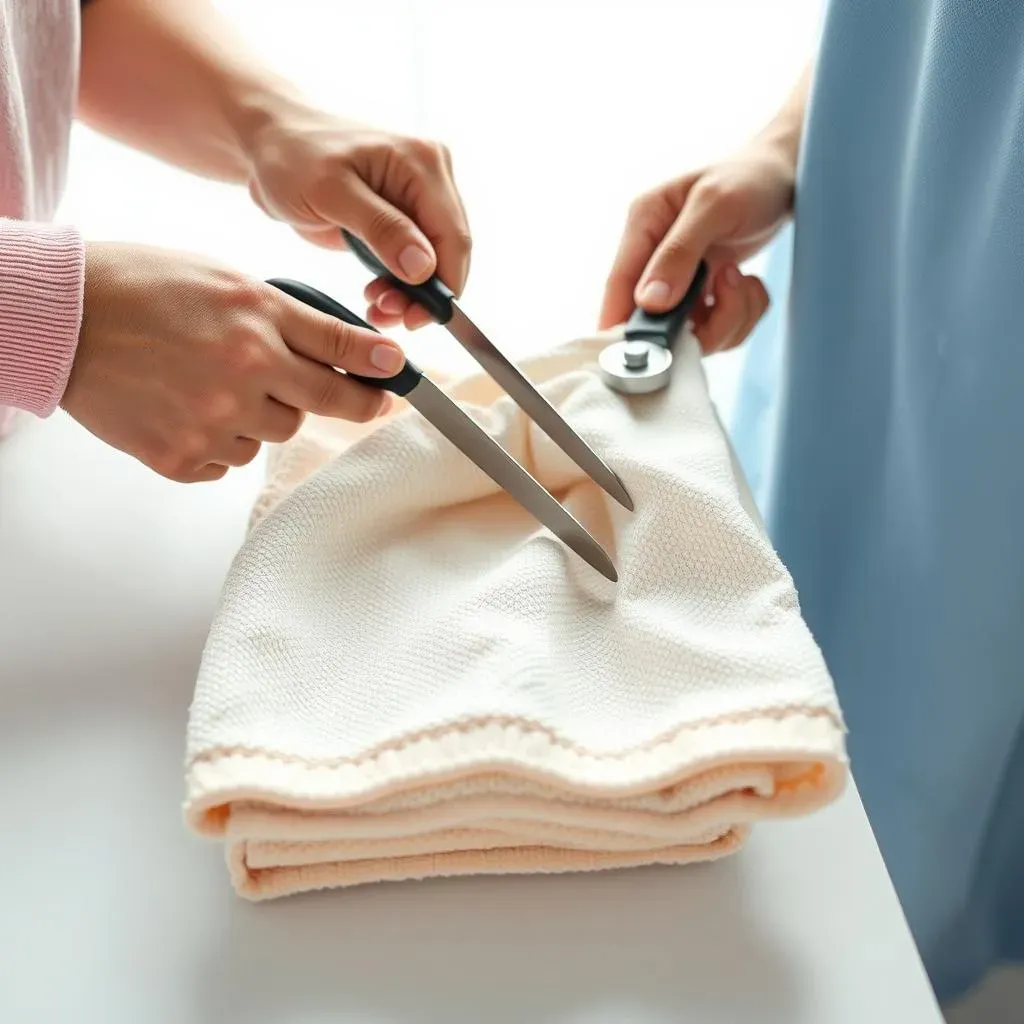
so we've got our supplies, now for the fun part: transforming that hand towel into a cozy hood. First things first, lay your hand towel flat. Usually, there's a decorative edge at the ends, you know, those fancy borders? We're going to cut those off. I like to use my rotary cutter for this, but scissors work just fine. Think of it like giving the towel a clean slate. Once those edges are gone, fold the towel in half. Now, cut along that fold, so you have two equal pieces – these are going to be our hoods. It's like making two little hats for our towel!
Now, grab one of those pieces. Fold it in half again, this time with the right sides facing each other. This is where your pins come in handy, secure the edges to stop them from moving. See, you're already a pro! Now, using your sewing machine, sew a straight stitch along the top edge, leaving the bottom open. This creates the basic shape of our hood. I remember the first time I did this, my stitching was so wobbly! Don't worry if yours isn't perfect, it's all part of the learning curve. The important thing is that it's secure. Repeat this step with the second piece of the hand towel, and now you have two adorable hoods ready to go.
Step | Action | Tip |
|---|---|---|
1 | Lay hand towel flat | Smooth out wrinkles for even cuts |
2 | Cut off decorative edges | Use a rotary cutter or sharp scissors |
3 | Fold towel in half | Make sure edges align |
4 | Cut along the fold | Create two hood pieces |
5 | Fold one piece in half (right sides together) | Pin edges to secure |
6 | Sew a straight stitch along top edge | Leave bottom open |
7 | Repeat steps 5 & 6 with other piece | Make two hoods |
Sewing the Hood and Attaching It to the Baby Towel
Sewing the Hood and Attaching It to the Baby Towel
Preparing the Hoods
Alright, so we've got our two little hoods ready to go, looking like tiny, adorable hats. Now, before we attach them to the bath towel, let's give them a little extra love. Turn each hood right side out. This is going to make our seams look neat and tidy. I like to use a point turner or even just a chopstick to poke out those corners nicely. It's like giving them a little spa treatment before their big debut! Once they're turned out, give them a quick press with your iron. This will make them lay flat and easier to work with. Remember, a little press goes a long way in making your finished towel look professional.
Now, let's grab that big bath towel. Lay it out flat, and find the center of one of the short edges. This is where we're going to attach our first hood. Take one of your prepared hoods, and pin it to the edge of the bath towel, making sure that the raw edge of the hood lines up with the edge of the towel. I like to use a lot of pins here, because it keeps everything in place and stops the hood from shifting while you are sewing it. It's like giving your hood a secure handshake, it lets you know it's ready for the next step.
Step | Action | Tip |
|---|---|---|
1 | Turn hoods right side out | Use a point turner for sharp corners |
2 | Press hoods with iron | Make them lay flat |
3 | Lay bath towel flat | Find the center of a short edge |
4 | Pin one hood to the towel edge | Match raw edges, use plenty of pins |
Attaching the Hood to the Towel
it's time to sew! Using your sewing machine, stitch the hood to the bath towel using a straight stitch. I like to start about half an inch from the edge and sew all the way across, making sure that the hood is securely attached. Now, this next part is important – we're going to reinforce that seam with a zig-zag stitch. This will make the seam stronger and prevent it from fraying. I always say, a zig-zag stitch is like giving your seam a little bodyguard, it protects it from everything. Go slow and steady, and don't worry if it's not perfect. It's a learning process, and every stitch makes you better!
Once you've sewn and secured the first hood, it's time to repeat the process with the second hood on the opposite side of the bath towel. Pin the second hood to the other short edge of the towel, ensuring that it's centered and aligned. Just like before, use a straight stitch to attach it, followed by a zig-zag stitch to secure the edge. I remember when I made my first towel, I was so excited that I forgot to use the zig-zag stitch. Let's just say it didn't last very long! So, take your time, and make sure you're adding that extra reinforcement. Now, you've got a towel with two adorable hoods, ready for some post-bath snuggles.
Sewing Tips
- Use a straight stitch to attach the hood to the towel.
- Reinforce the seam with a zig-zag stitch.
- Double-check that the hood is centered and aligned.
- Go slow and steady for a neater finish.
Final Touches
Alright, you’re almost there! After sewing both hoods, take a moment to admire your work. Give the towel a good shake to make sure everything is sitting right, and then it's time for the fun part: adding the trim. Grab your rick-rack or trim, and start pinning it around the edges of the towel. You can go around the entire towel, or just the bottom edge, it's totally up to you. I like to use a lot of pins to make sure the trim stays in place while I sew. It's like giving your towel a little sparkly hug, it makes it more fun!
Finishing Touches and Gifting Your Handmade Hooded Baby Towel
Finishing Touches and Gifting Your Handmade Hooded Baby Towel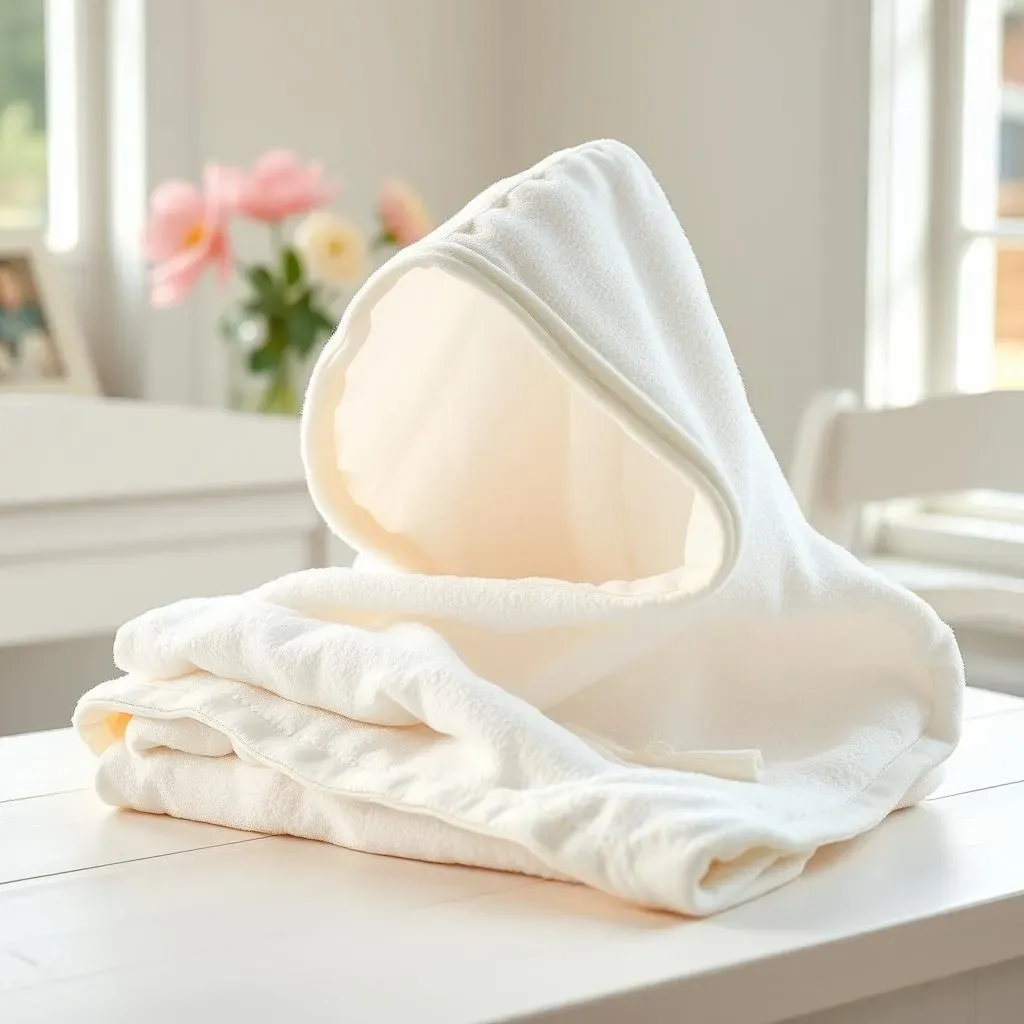
Adding the Final Flourishes
so you've pinned your trim, and now it's time to sew it on. I like to use a straight stitch for this, keeping close to the edge of the trim. Go slow and steady, making sure that the trim is evenly attached. Remember, it's all about taking your time and enjoying the process. Once you've sewn all the way around, give the towel a final press. This will help everything lay flat and make your finished project look extra professional. It's like giving your towel a little spa day, it makes it feel extra special. And there you have it – a beautiful, handmade hooded baby towel!
But wait, there's one more step! Before you wrap it up, give your towel a good once-over. Snip any loose threads, and make sure all your seams are secure. It's like giving your work a final quality check. And for an extra touch, fold the towel neatly. I like to fold mine into a rectangle and then fold it in half, so the hood is neatly displayed. You can even add a cute ribbon or a tag with the baby's name on it. It's the small details that make a big difference. When I made one for my nephew, I embroidered his name on the corner, and it made the gift even more personal. Remember, it's not just a towel; it's a labor of love.
Step | Action | Tip |
|---|---|---|
1 | Pin trim around edges | Use plenty of pins for even placement |
2 | Sew trim using a straight stitch | Keep close to the edge of the trim |
3 | Give the towel a final press | Ensure everything lays flat |
4 | Snip loose threads | Quality check |
5 | Fold the towel neatly | Show off the hood and trim |
Gifting Your Handmade Creation
Now comes the best part: gifting your beautiful creation! Whether it's for a baby shower, a newborn gift, or just because, a handmade hooded towel is a present that's sure to be cherished. It’s not just a towel; it's a symbol of your time, effort, and love. I remember when I gave my first one away, it was so rewarding to see the new parents' faces light up. It's a gift that keeps on giving, providing comfort and warmth for the little one. Consider adding a handwritten card with a sweet message. It's a personal touch that makes the gift even more meaningful. You can even include a care instruction, letting them know how to keep the towel looking its best. It's all about making the gift as special as possible.
If you’re feeling extra creative, you can even make a matching set with a washcloth or two. It’s a fun way to use up scraps, and it adds an extra layer of thoughtfulness to your gift. And hey, if you decide to keep it for yourself, that's totally okay too! I made a few for my own kids, and they still love snuggling in them after bath time. The best part about making these towels is that each one is unique. It's a fun and rewarding project that you can customize to your heart's content. So, go ahead, share your creations, spread the love, and remember, every stitch tells a story!
Gifting Ideas
- Add a handwritten card with a sweet message.
- Include care instructions for the towel.
- Create a matching washcloth set.
- Personalize it with the baby's name.
- Wrap it with a cute ribbon or tag.
Wrapping Up Your Cozy Creation
There you have it, your very own handmade hooded baby towel! It wasn't so hard, was it? From simple cuts to a few stitches, you've transformed fabric into something practical and precious. This project is more than just a DIY; it's a chance to pour your heart into something, whether it's for your own little one or a friend’s. I hope you enjoyed this easy hooded baby towel pattern tutorial, and that you are inspired to create more heartfelt gifts. Don't hesitate to share your creations and ask any questions in the comments below. Happy sewing!