Table of Contents
Looking for a unique and heartfelt gift for a baby shower? Or maybe you just want to wrap your own little one in something extra special after bath time? Forget those generic store-bought towels! We're diving into the world of DIY to show you how do you make hooded baby towels that are not only adorable but also super practical and budget-friendly. This guide will walk you through each step, from gathering your materials to adding those personal touches that make your creation truly one-of-a-kind.
Gather Your Supplies for a DIY Hooded Baby Towel
Gather Your Supplies for a DIY Hooded Baby Towel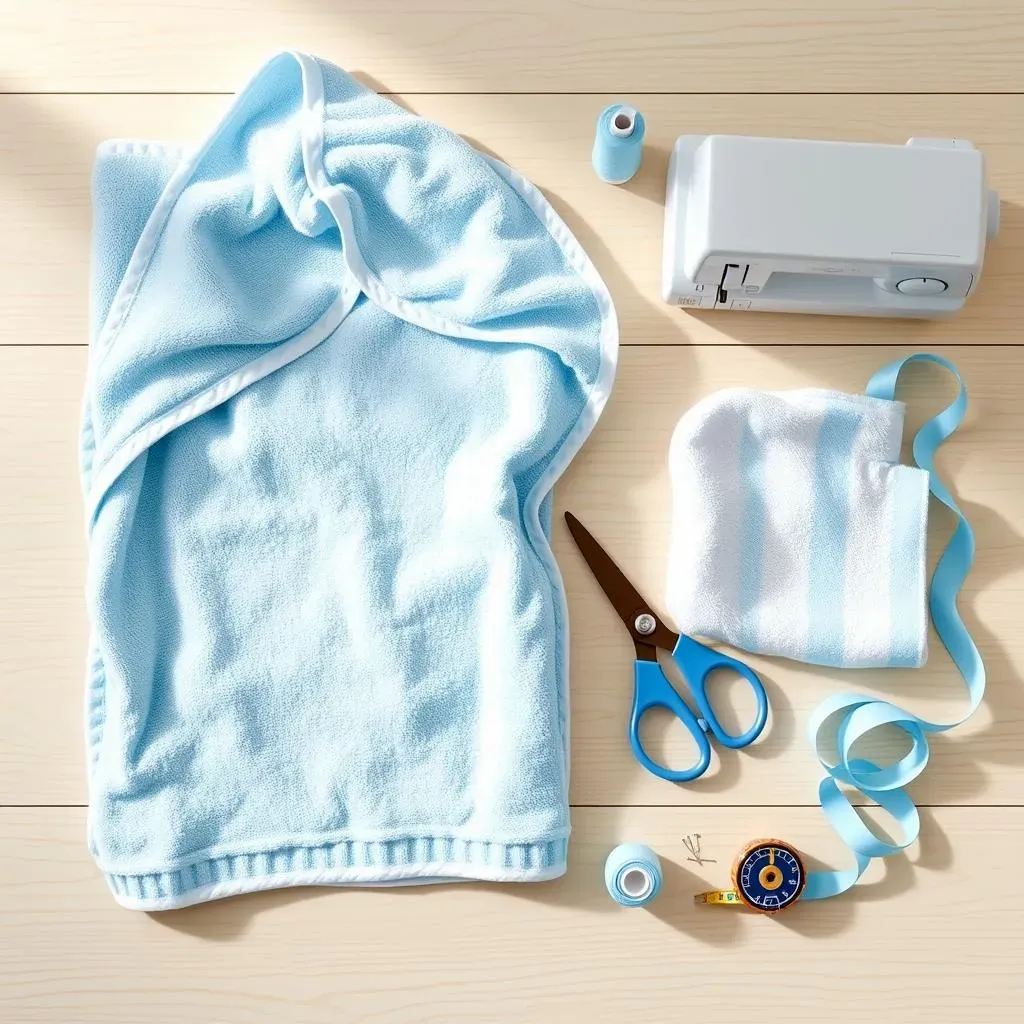
The Essential Towels
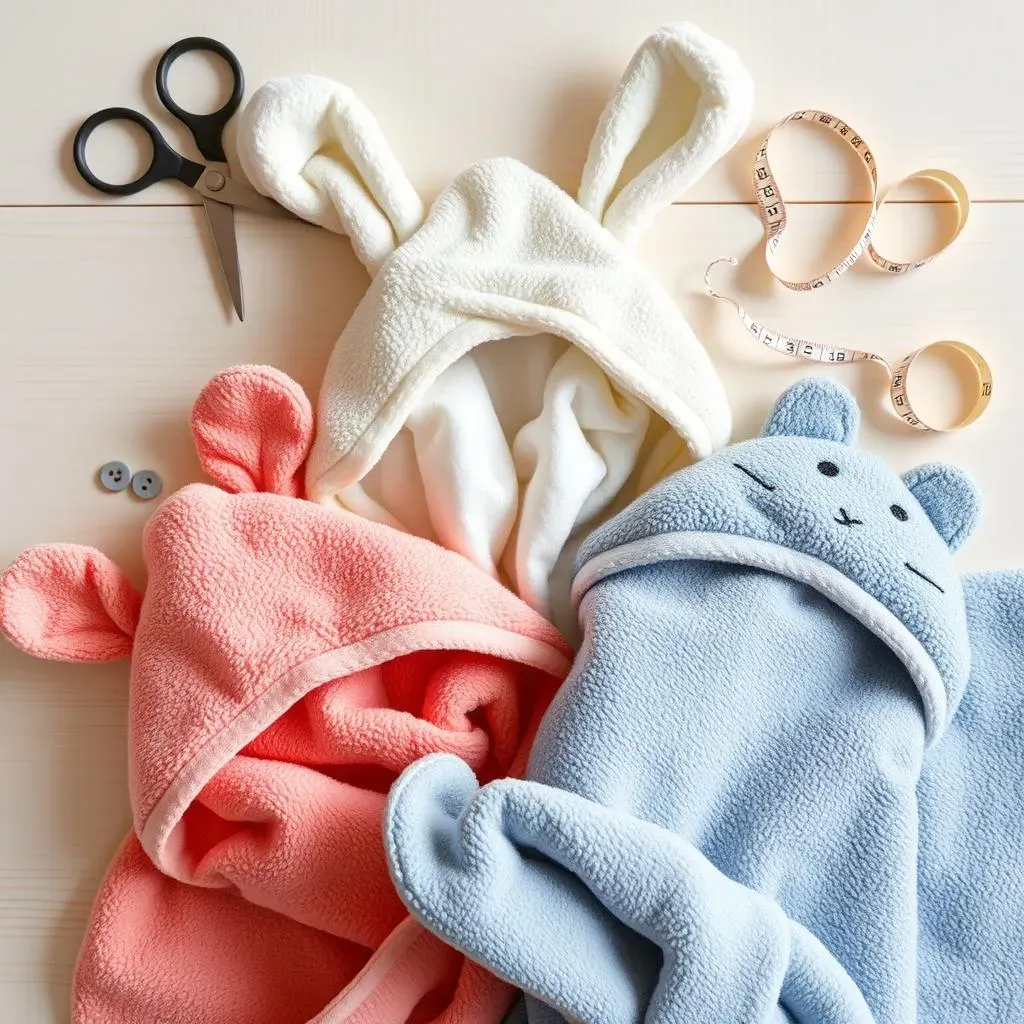
First things first, you'll need your towels! An oversized bath towel is the foundation of your project. Opt for something soft and absorbent – think plush terry cloth or even bamboo. For the hood, a hand towel works perfectly. You can coordinate colors or choose contrasting patterns for a pop of fun. I once made a hooded towel with a bright yellow bath towel and a blue-and-white striped hand towel for the hood – it looked like a little ducky!
When selecting your towels, consider the baby's delicate skin. Look for towels that are labeled as hypoallergenic or made from organic materials to minimize the risk of irritation. Also, pre-wash your towels before you start sewing to remove any sizing or finishes and to prevent shrinkage later on.
Beyond the Towels: Notions and Tools
so you have your towels – awesome! Now, let's gather the rest of the essentials. You'll need thread that matches your towel colors, a sewing machine (unless you're feeling super ambitious and want to hand-sew!), scissors or a rotary cutter, pins, and a measuring tape or ruler. If you want to get fancy, grab some ribbon, bias tape, or appliques to add some extra flair.
Don't underestimate the power of good pins! They're your best friends when it comes to holding everything in place while you sew. Also, a rotary cutter and mat can make cutting your fabric a breeze, especially if you're working with thicker towels. And remember, safety first! Always use sharp scissors or a rotary cutter with caution and keep them out of reach of little hands.
Supply | Why You Need It | Pro Tip |
|---|---|---|
Oversized Bath Towel | Forms the main body of the towel | Choose a soft, absorbent material |
Hand Towel | Used to create the hood | Coordinate or contrast colors for a fun look |
Thread | To sew all the pieces together | Select a color that matches your towels |
Sewing Machine | For efficient and secure stitching | A basic machine will do! |
Scissors/Rotary Cutter | For precise fabric cutting | Rotary cutter speeds up the process |
Pins | To hold fabric in place while sewing | Use plenty of pins for accuracy |
Measuring Tape/Ruler | To ensure accurate measurements | Essential for hood placement |
StepbyStep Guide: How Do You Make Hooded Baby Towels?
StepbyStep Guide: How Do You Make Hooded Baby Towels?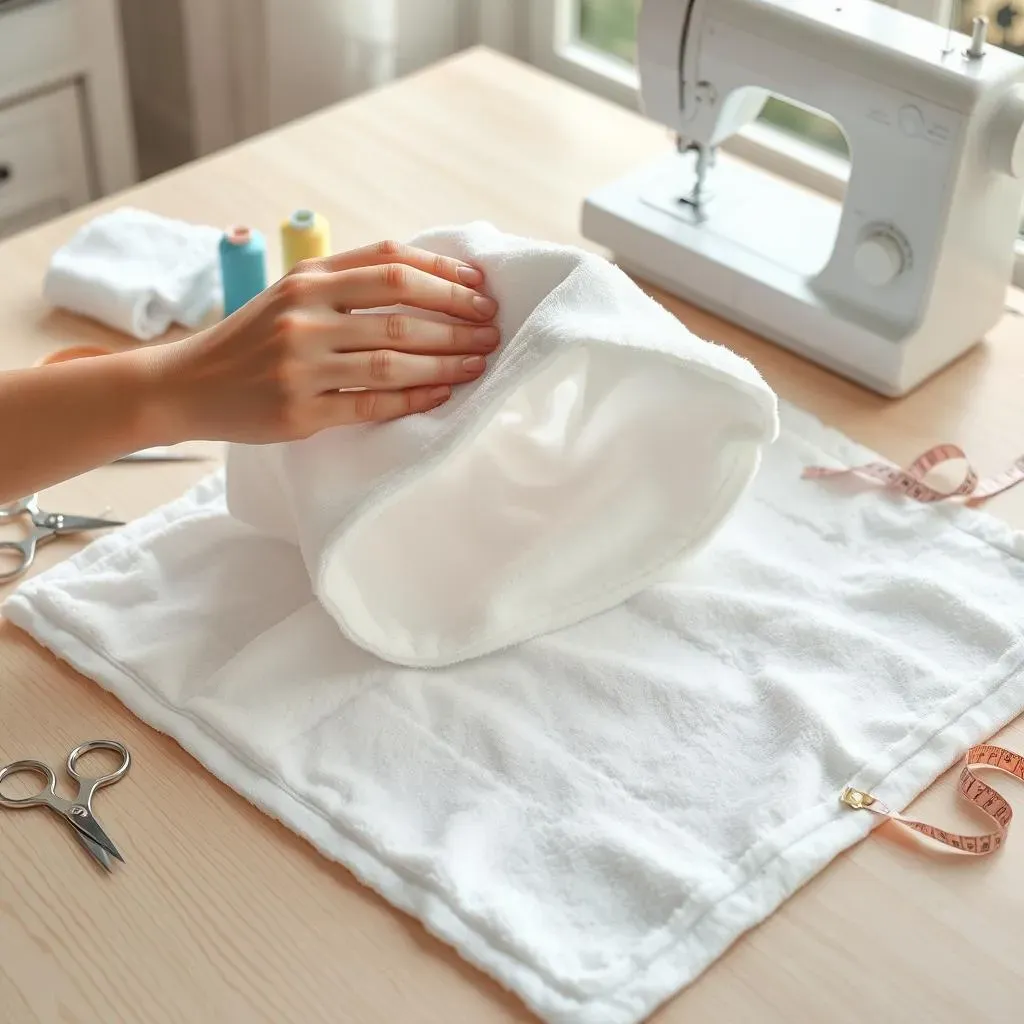
Preparing the Bath Towel
Alright, let's get down to business! First, lay your oversized bath towel flat on your work surface. Fold it in half lengthwise, ensuring the edges line up perfectly. This will help you find the center point, which is crucial for attaching the hood later. Use your pins to secure the folded edge, preventing the fabric from shifting while you work. Accurate pinning ensures a neat and professional finish. Think of it like building a solid foundation for your hooded masterpiece!
Now, using your measuring tape or ruler, mark the center point along the folded edge. This is where the hood will be attached. You can use a fabric marker or a pin to indicate the spot clearly. Double-check your measurement to ensure accuracy. A slightly off-center hood can throw off the entire look of the towel, so take your time and get it right. Remember, precision is key in sewing!
I remember one time, I didn't measure correctly, and the hood ended up being way off to one side. It looked a bit wonky, but hey, it still did the job! But trust me, it's worth taking the extra few minutes to measure properly.
Crafting the Perfect Hood
Now for the fun part: creating the hood! Take your hand towel and fold it in half, matching the shorter edges. This will form the basic shape of the hood. Next, sew along the open side, creating a seam that encloses the raw edge. A simple straight stitch will do the trick. This seam not only prevents fraying but also gives the hood a clean and polished look.
Once you've sewn the seam, turn the hood right side out. You'll now have a neat, enclosed hood shape. Press the seam flat with an iron to create a crisp edge. This will make the hood sit nicely against the bath towel. Now, fold the top edge of the hood down about 1-2 inches and press again. This creates a finished edge that will frame the baby's face beautifully.
If you're feeling creative, you can add some embellishments to the hood at this stage. Consider adding a cute applique, some decorative stitching, or even a border of ribbon or bias tape. The possibilities are endless! Just make sure any embellishments are securely attached and won't pose a choking hazard to the baby.
Attaching the Hood to the Towel
With your bath towel prepped and your hood ready, it's time to bring them together! Align the center of the hood with the center mark you made on the bath towel's folded edge. Pin the hood securely to the towel, ensuring it's centered and evenly distributed. Use plenty of pins to prevent shifting during sewing. This is a crucial step for a professional-looking finish.
Now, carefully sew the hood to the bath towel using a sturdy stitch. A zigzag stitch is a good choice as it provides some stretch and flexibility. Sew along the edge of the hood, catching both layers of fabric securely. Reinforce the seam by sewing over it a second time. This will ensure the hood stays firmly attached, even after repeated washings.
Once you've sewn the hood in place, remove the pins and admire your work! You're one step closer to creating a cozy and adorable hooded baby towel. Take a moment to trim any excess fabric or threads around the seam. A clean finish adds a professional touch to your handmade creation.
Adding the Hood: A Crucial Step in Making Hooded Baby Towels
Adding the Hood: A Crucial Step in Making Hooded Baby Towels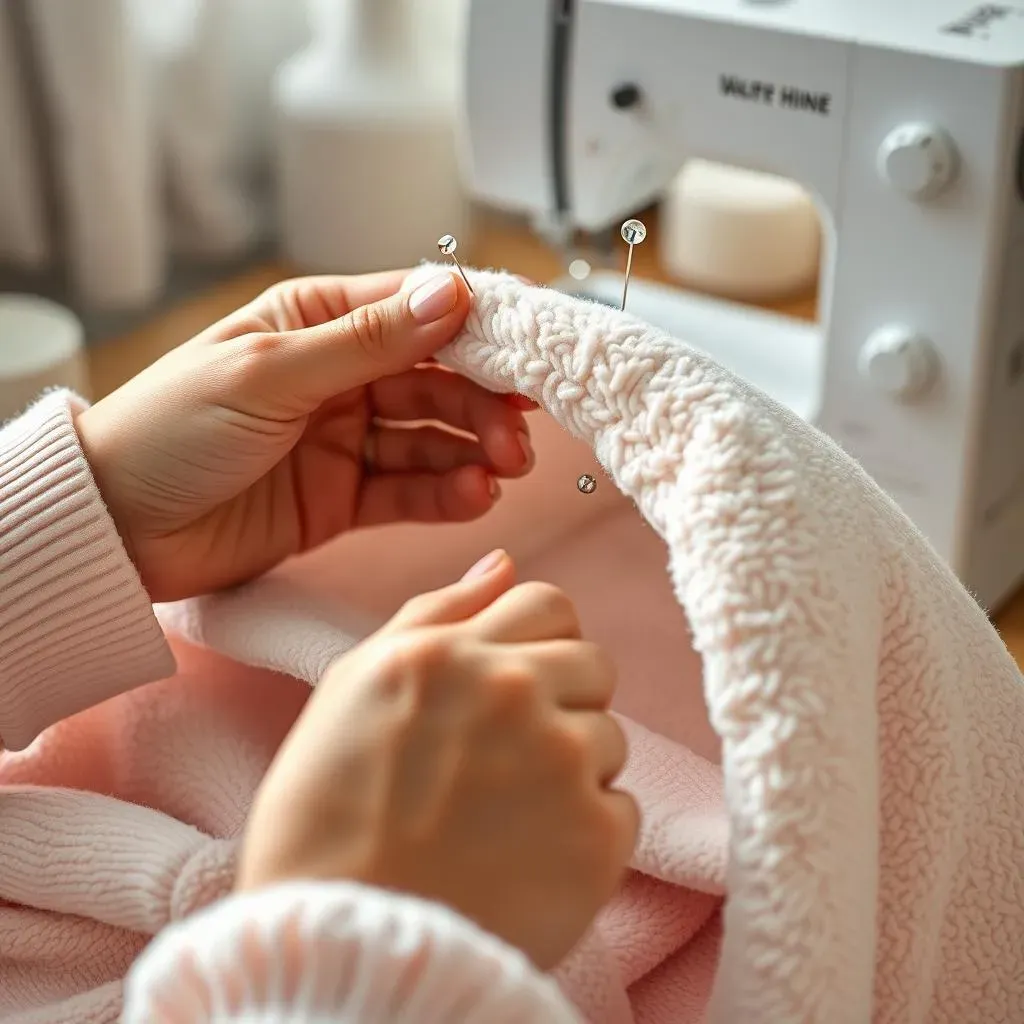
So, you've got your towel and your hood, and now it's time for the big moment: attaching them together! Adding the hood might seem intimidating, but trust me, it's totally doable. This is a crucial step in making hooded baby towels because it's what transforms a regular towel into something special and functional. We're going to focus on making sure that hood is secure, centered, and looks fantastic.
First, find the center point of both the towel and the hood. Folding them in half is the easiest way to do this. Then, align those center points, with the hood facing down onto the right side of the towel. Pin like crazy! Seriously, use a ton of pins to keep everything in place. The more secure it is, the easier it will be to sew. Think of it as building the foundation for a tiny wearable castle – you want it to be solid!
Now, for the sewing. I recommend using a zigzag stitch for this, as it allows for a little bit of stretch, which is great for a baby item that's going to be washed a lot. Sew slowly and carefully, making sure to catch both layers of fabric. Once you've sewn all the way around, go back and reinforce the seam with another row of stitching. This will ensure that the hood stays put, no matter how much your little one wiggles and squirms!
Once the hood is attached, give it a good press with an iron. This will help the seam lie flat and give it a professional finish. And that's it! You've successfully added the hood! Take a step back and admire your work. See? It wasn't so scary after all! Now, let's move on to adding those personal touches that will make your hooded baby towel truly unique.
- Center, Center, Center: Always align the center points for a balanced look.
- Pin It to Win It: Don't skimp on the pins!
- Zigzag is Your Friend: It adds stretch and durability.
- Reinforce, Reinforce: Double stitching is a must.
Personalizing Your Homemade Hooded Baby Towel
Personalizing Your Homemade Hooded Baby Towel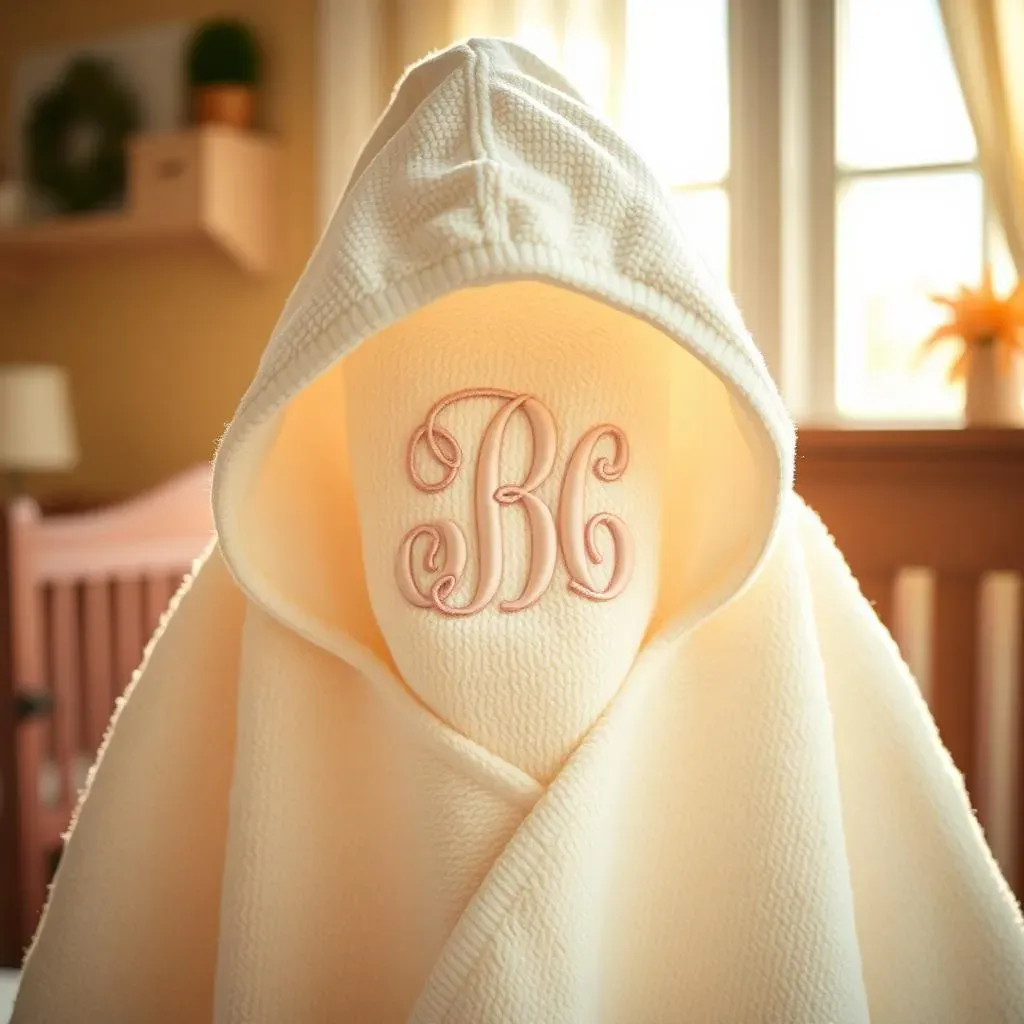
Monogram Magic
Alright, now for the really fun part: personalizing your homemade hooded baby towel! This is where you can let your creativity shine and make a truly unique gift. One of the most popular options is adding a monogram. A simple embroidered initial or the baby's full name can transform a basic towel into a cherished keepsake. You can either embroider it yourself (if you're skilled with a needle and thread) or use a sewing machine with an embroidery function. Alternatively, you can find local shops that offer custom embroidery services.
When choosing a font for your monogram, consider something classic and easy to read. A simple sans-serif font or a traditional script font are both great choices. Also, think about the placement of the monogram. Centering it on the hood or placing it in the corner of the towel are both popular options. I once saw a hooded towel with a tiny monogram embroidered on the corner of the hood – it was so subtle and elegant!
Applique Allure
If embroidery isn't your thing, don't worry! There are plenty of other ways to personalize your homemade hooded baby towel. Appliques are a fantastic option for adding a touch of whimsy and fun. You can find a wide variety of pre-made appliques online or at your local craft store. From cute animals to playful shapes, the possibilities are endless! Alternatively, you can create your own appliques using fabric scraps and fusible webbing.
When choosing appliques, consider the baby's interests or the nursery theme. A little sailboat applique would be perfect for a nautical-themed nursery, while a cuddly bear applique would be adorable for a baby who loves stuffed animals. To attach the applique, simply iron it onto the towel using fusible webbing, then stitch around the edges for extra security. This will prevent the applique from peeling off after repeated washings. I once made a hooded towel with a whole menagerie of animal appliques – it was a hit!
Ribbon and Trim Treasures
Finally, don't underestimate the power of ribbon and trim! Adding a decorative border of ribbon or bias tape can instantly elevate your homemade hooded baby towel. Choose a ribbon that complements the towel colors or adds a pop of contrast. A simple satin ribbon or a playful pom-pom trim can both look fantastic. To attach the ribbon, simply pin it along the edge of the towel and sew it in place using a straight stitch. For a more secure finish, you can fold the ribbon over the edge of the towel and stitch it down on both sides.
When selecting ribbon or trim, consider the baby's safety. Avoid using anything with small parts that could detach and pose a choking hazard. Also, make sure the ribbon is securely attached and won't fray easily. A well-chosen ribbon can add a touch of elegance and sophistication to your hooded baby towel. I once saw a towel with a delicate lace trim – it was absolutely stunning!
Personalization Method | Description | Tips |
|---|---|---|
Monogramming | Adding initials or the baby's name | Choose a clear, readable font |
Appliques | Adding fabric shapes or designs | Consider the baby's interests or nursery theme |
Ribbon & Trim | Adding decorative borders | Ensure secure attachment and avoid choking hazards |
Care and Maintenance Tips for Your DIY Baby Towel
Care and Maintenance Tips for Your DIY Baby Towel
Washing Wisdom
So, you've poured your heart and soul into creating this adorable DIY baby towel. Now, let's talk about keeping it soft, cuddly, and looking its best! Proper care and maintenance are key to extending the life of your handmade creation. First things first, always wash your baby towel before its first use. This will remove any lingering manufacturing residues and ensure it's extra gentle on your little one's delicate skin. I always pre-wash all fabrics before I start any sewing project, it just gives me peace of mind!
When it comes to washing, gentle is the name of the game. Use a mild, baby-friendly detergent that's free of harsh chemicals, dyes, and fragrances. These can irritate sensitive skin and cause allergic reactions. Also, avoid using fabric softeners, as they can reduce the towel's absorbency and leave a waxy residue. Instead, opt for a natural alternative like vinegar. A half-cup of white vinegar added to the rinse cycle will help soften the fabric and remove any lingering detergent residue. Plus, it's a natural disinfectant!
Drying Dos and Don'ts
Now, let's talk drying. Tumble drying on low heat is generally the safest option for your DIY baby towel. High heat can damage the fibers and cause shrinkage. However, if you want to be extra cautious, consider air drying. Simply hang the towel on a clothesline or lay it flat on a clean surface to dry. Air drying is not only gentle on the fabric but also helps to preserve its color and shape. Plus, it's eco-friendly!
No matter how you choose to dry your baby towel, make sure it's completely dry before storing it. Damp towels can harbor bacteria and mildew, which can be harmful to your little one. Also, avoid ironing your baby towel, as the heat can damage the delicate fibers. If you must iron it, use a low setting and place a clean cloth between the iron and the towel.
- Wash Before Use: Remove manufacturing residues.
- Gentle Detergent: Avoid harsh chemicals.
- Skip Fabric Softener: Reduces absorbency.
- Low Heat Drying: Prevents damage and shrinkage.
- Ensure Complete Dryness: Prevents bacteria and mildew.
Wrap-Up: Snuggle Time Awaits!
So, there you have it – a complete guide on how do you make hooded baby towels! From selecting the softest materials to adding those final, personalized touches, you've now got the skills to create a truly special and practical gift. Not only will your little one be cozy and dry after bath time, but they'll also be wrapped in something made with love. Whether you're a seasoned sewer or just starting out, this project is a fantastic way to unleash your creativity and make something meaningful. Happy crafting, and enjoy those precious snuggle moments!