Table of Contents
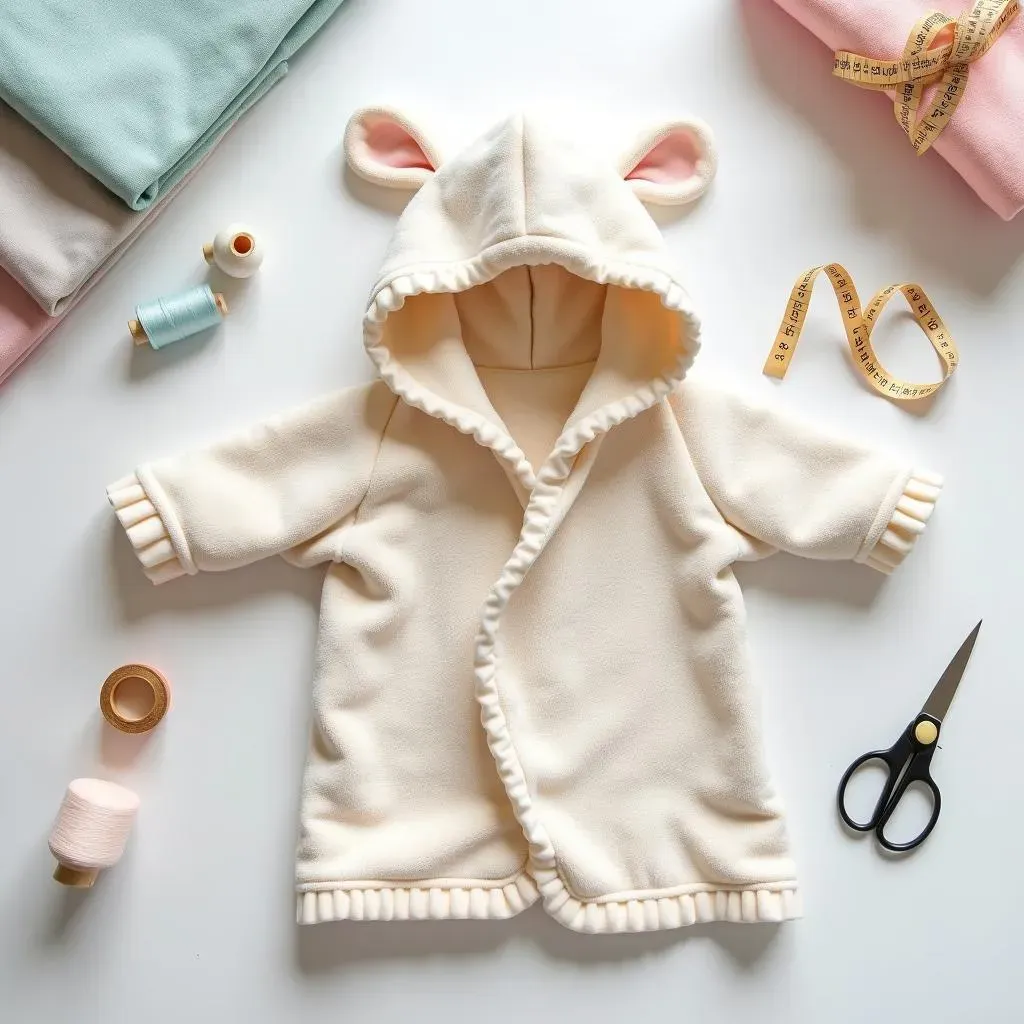
Looking for a simple, heartwarming project? Let's dive into how to make a baby hooded towel! This isn't just any towel; it's a cozy, custom creation perfect for after-bath snuggles or a thoughtful handmade baby shower gift. Remember that adorable hooded towel you wished you had more of? Now you can make your own, tailored exactly to your taste and baby's needs.
Gathering Supplies to Make a Baby Hooded Towel
Gathering Supplies to Make a Baby Hooded Towel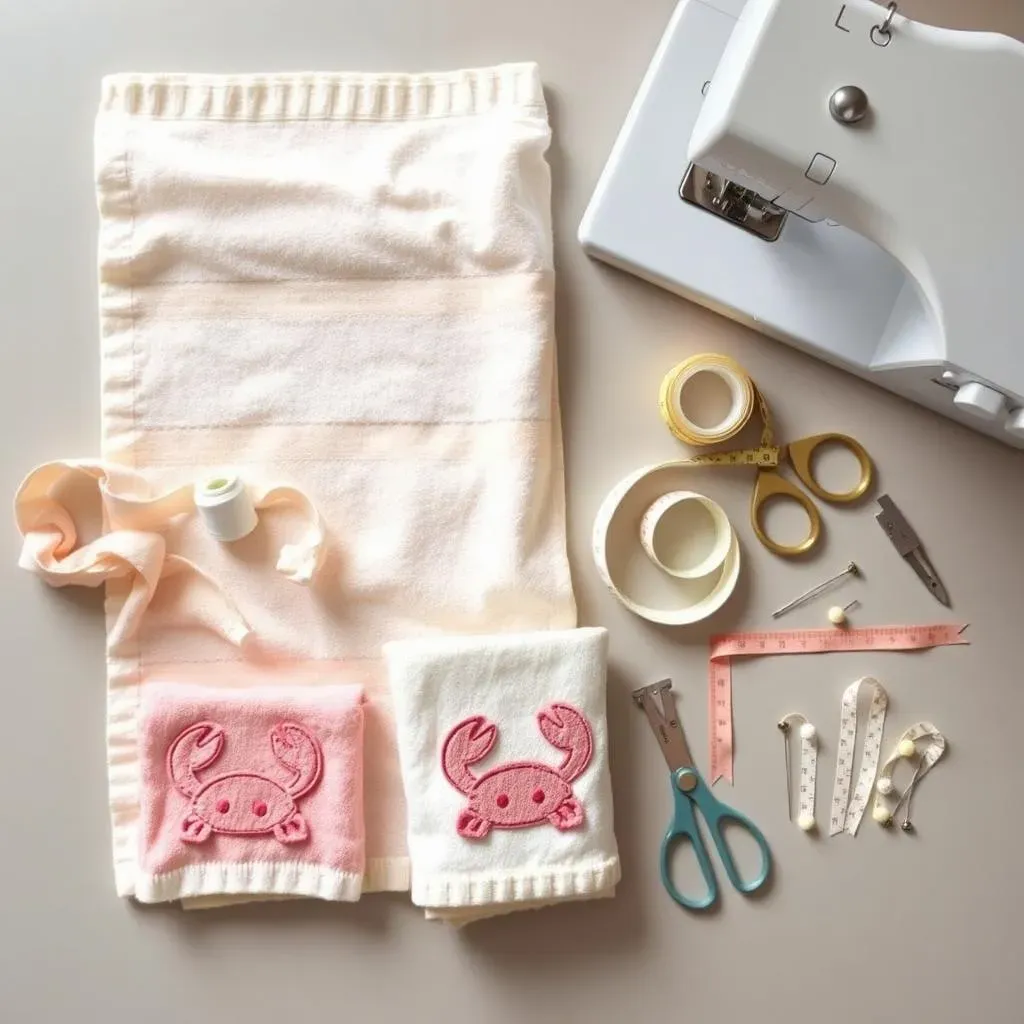
Choosing the Right Towels
First things first, let's talk towels. The star of the show is, of course, the bath towel. Opt for a soft, absorbent bath towel – think gentle on baby's skin. Terry cloth is a classic choice, but bamboo towels are gaining popularity for their incredible softness and eco-friendliness. As for size, a standard bath towel works great, but you can adjust based on how big you want the finished towel to be. I once used an oversized beach towel because it was the perfect shade of sunshine yellow; it made for a ridiculously large but oh-so-cozy hooded towel!
Don’t forget the hand towel! This will become the hood, so pick something that complements the bath towel. You can go matchy-matchy or choose a contrasting color or pattern for a pop of fun. Just make sure it's also soft and absorbent. Pro tip: wash and dry your towels before you start sewing. This will pre-shrink them and remove any excess lint, ensuring your finished product stays looking great wash after wash.
Essential Sewing Supplies
Now, let's gather the sewing essentials. You'll need a sewing machine, of course, unless you're feeling particularly ambitious and want to hand-stitch the whole thing (major props to you if you do!). Make sure you have thread that matches your towels. A good pair of scissors or a rotary cutter and mat will make cutting the fabric a breeze. Straight pins are your best friends for holding everything in place while you sew. I cannot stress enough the importance of pins. They are crucial.
- Sewing machine
- Matching thread
- Scissors or rotary cutter and mat
- Straight pins
- Measuring tape or ruler
- Seam ripper (just in case!)
A measuring tape or ruler is essential for accurate cuts and seam allowances. And last but not least, a seam ripper. Because let's be honest, we all make mistakes! A seam ripper will save you from having to start all over when (not if) you sew something a little crooked. Trust me, it’s a lifesaver.
Optional Embellishments
Want to take your hooded towel to the next level? Consider adding some fun embellishments! Bias tape is great for creating a clean, finished edge around the hood. You could also use pom-pom trim, ric rac, or even some cute appliques to personalize your towel. I once added a little embroidered crab to a hooded towel for a beach-themed baby shower gift. It was a huge hit!
Embellishment | Use | Tip |
|---|---|---|
Bias Tape | Finishing edges | Choose a color that complements your towel |
Pom-Pom Trim | Adding a playful touch | Securely stitch in place |
Appliques | Personalizing the design | Iron-on or sew-on options available |
Don't be afraid to get creative and let your personality shine through. After all, handmade gifts are all about adding that special, personal touch. With the right supplies in hand, you're ready to start creating a hooded towel that's both practical and adorable. Let's move on to the fun part: sewing!
StepbyStep Guide: How to Make a Baby Hooded Towel
StepbyStep Guide: How to Make a Baby Hooded Towel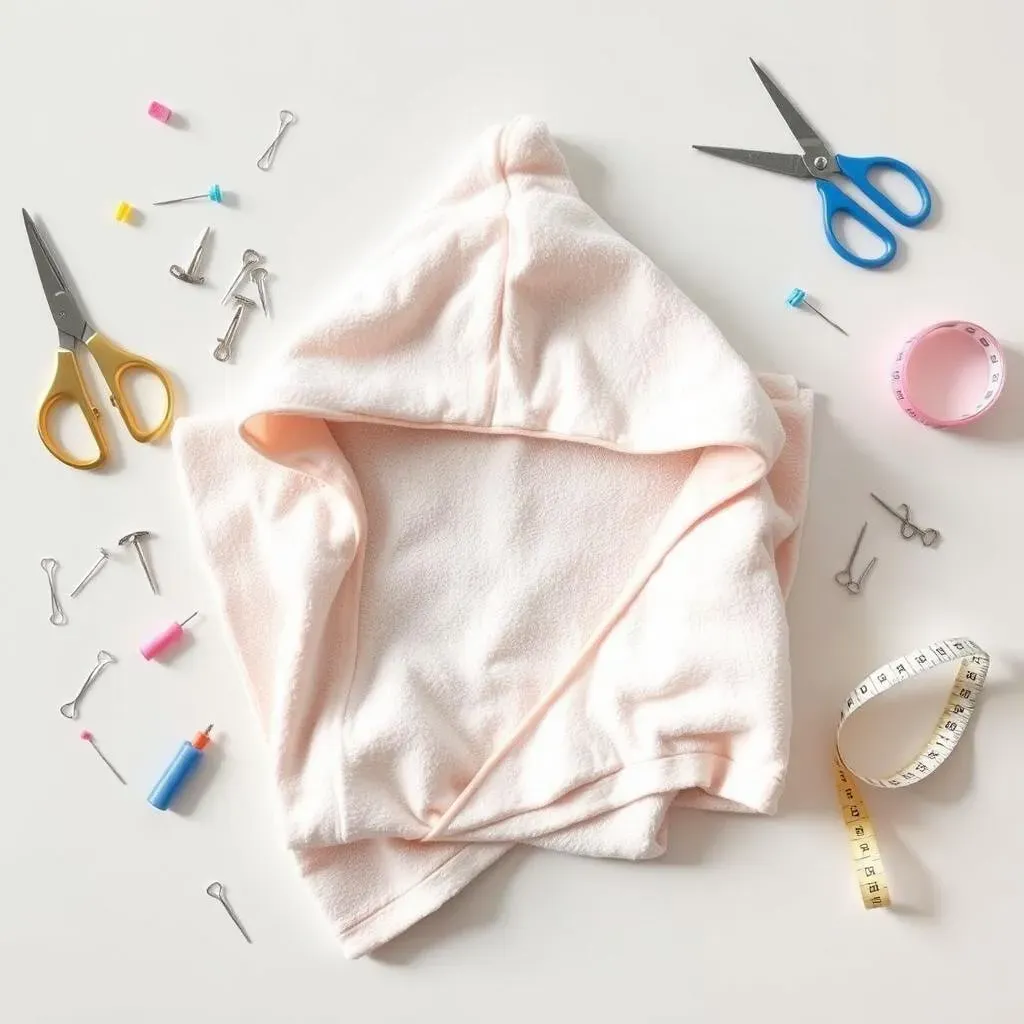
Cutting the Fabric
Alright, let's get down to business! First up, we need to cut our fabric. Take your bath towel and lay it flat on your cutting surface. If you want to round the corners (which I highly recommend – it gives it a softer, more professional look), grab a dinner plate or any round object and trace around each corner. Then, carefully cut along the traced lines. Now, for the hood! Fold your hand towel in half and decide how deep you want the hood to be. A good rule of thumb is about 9-10 inches. Measure down from the folded edge and cut across. You should now have a square or rectangle that will become the hood.
Next, we need to shape the hood. With the hand towel still folded, round off the two top corners, just like you did with the bath towel. This will give the hood a nice, rounded shape that fits comfortably on baby's head. I usually just eyeball it, but if you're a perfectionist, you can use a smaller plate or bowl to trace the curve. Remember, it doesn't have to be perfect – handmade charm is part of the appeal!
Sewing the Hood
Now for the fun part: sewing! Open up your hood piece (the hand towel you cut) and fold it in half with the right sides (the pretty sides) facing each other. Pin along the curved edge and the straight edge, leaving the bottom open. Using a ½ inch seam allowance, sew along the pinned edges, creating a curved, cone-like shape. Backstitch at the beginning and end of your seam to secure it. Once you've sewn the seam, trim the excess fabric close to the stitching. This will reduce bulk and make the hood lie flatter.
Turn the hood right side out. You can use a point turner or a chopstick to gently push out the corners and create a nice, rounded shape. Now, press the seam flat with an iron. This will give the hood a crisp, professional finish. If you're using bias tape or other trim, now's the time to attach it to the edge of the hood. Simply unfold the bias tape, pin it around the edge of the hood, and sew along the fold lines. For pom-pom trim or ric rac, sandwich the trim between the right side of the hood and the bias tape for a secure and decorative finish. Sewing the hood is probably the trickiest part.
Attaching the Hood to the Towel
Almost there! Now, it's time to attach the hood to the bath towel. Find the center of one of the short ends of your bath towel. This is where the back of the hood will be attached. Place the hood on the towel, aligning the raw edge of the hood with the raw edge of the towel, right sides facing each other. The center of the hood should match up with the center of the towel. Pin the hood to the towel, distributing the fabric evenly. You may need to ease the hood fabric slightly to fit the towel, as the hood is curved and the towel is straight.
Using a ½ inch seam allowance, sew the hood to the towel, backstitching at the beginning and end of the seam. Once you've sewn the seam, serge or zigzag stitch along the raw edge to prevent fraying. Alternatively, you can fold the raw edge under and topstitch for a clean finish. And that's it! You've successfully created a baby hooded towel! Give it a final press with the iron, and admire your handiwork. Now, wrap that little one up in cozy cuteness!
Step | Description | Tip |
|---|---|---|
1 | Find the center of the towel's short end | Fold the towel in half to easily locate the center |
2 | Align the hood's raw edge with the towel's raw edge, right sides together | Ensure the hood is centered on the towel |
3 | Pin the hood to the towel, distributing the fabric evenly | Use plenty of pins to keep the fabric in place |
4 | Sew the hood to the towel with a ½ inch seam allowance | Backstitch at the beginning and end to secure the seam |
5 | Serge or zigzag stitch the raw edge to prevent fraying | Alternatively, fold and topstitch for a clean finish |
Adding Personal Touches to Your Baby Hooded Towel
Adding Personal Touches to Your Baby Hooded Towel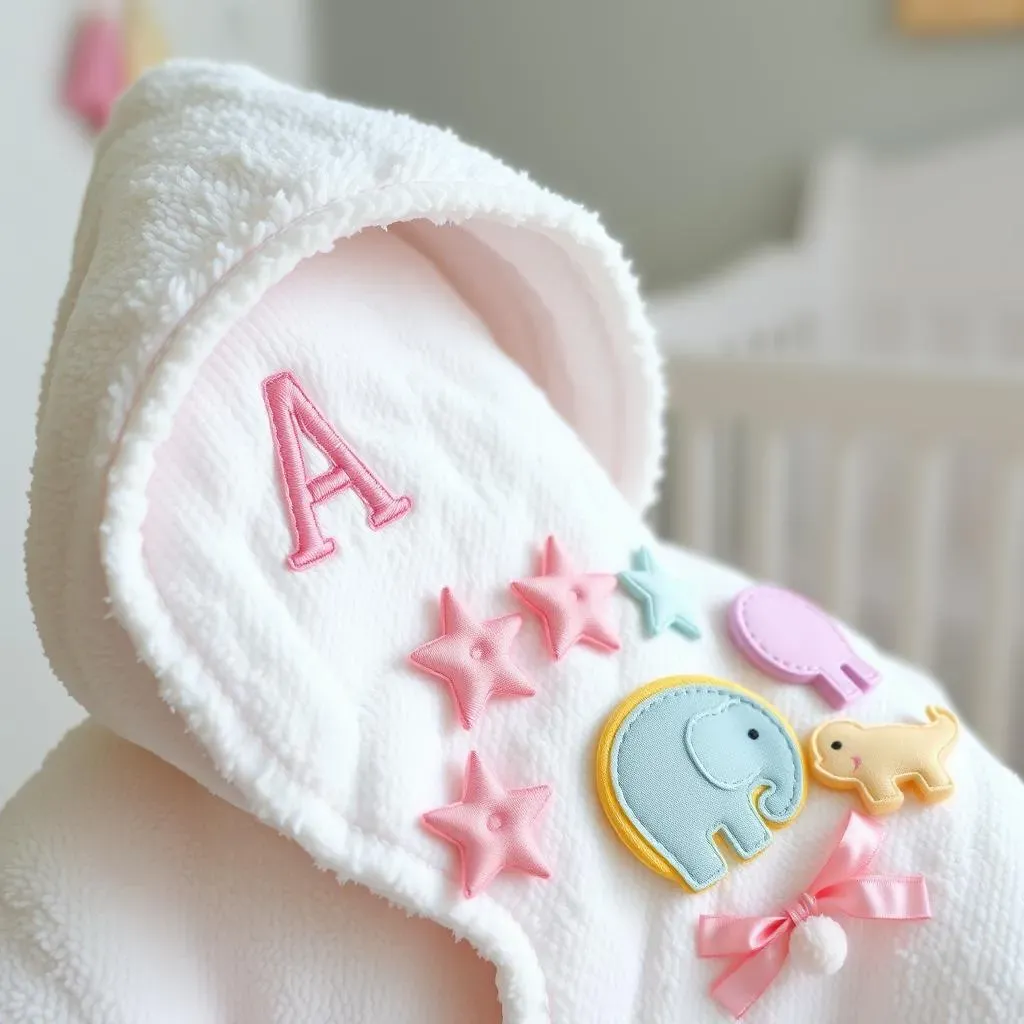
Monogram Magic
Want to make your hooded towel extra special? Consider adding a monogram! A simple initial or the baby's full name can transform a plain towel into a cherished keepsake. You can embroider the monogram by hand, use a sewing machine with embroidery capabilities, or even iron on a pre-made monogram patch. Place the monogram on the hood for maximum visibility, or on the corner of the towel for a subtle touch. I once made a set of hooded towels for twins, and I embroidered their names in different colored threads – it was adorable!
If you're not confident in your embroidery skills, don't worry! There are plenty of online resources and tutorials to guide you. You can also find local shops that offer custom embroidery services. Just be sure to choose a font and thread color that complements your towel. A well-executed monogram adds a touch of elegance and personalization that will be treasured for years to come.
Applique Allure
Appliques are another fantastic way to personalize your baby hooded towel. From cute animals to playful shapes, the possibilities are endless! You can find pre-made appliques at most craft stores, or you can create your own using fabric scraps. Simply cut out your desired shape, fuse it to the towel with fusible webbing, and then stitch around the edges to secure it. For a more dimensional look, consider using felt or fleece for your appliques. I once made a hooded towel with a little felt elephant on the hood – it was so soft and cuddly!
When choosing appliques, think about the baby's interests or the theme of the nursery. Stars and moons are perfect for a celestial-themed towel, while ducks and frogs are ideal for a bath-time theme. Get creative and have fun with it! Just be sure to choose appliques that are soft, durable, and safe for babies. Avoid anything with small parts that could be a choking hazard.
Trim Temptation
Don't underestimate the power of trim! A simple border of bias tape, pom-pom trim, or ric rac can add a pop of color and personality to your hooded towel. Bias tape is great for creating a clean, finished edge, while pom-pom trim and ric rac add a playful, whimsical touch. You can attach the trim using a sewing machine or by hand. For a more decorative look, consider layering different types of trim. I once made a hooded towel with a border of lace and ribbon – it was so elegant and feminine!
Trim Type | Description | Best For |
|---|---|---|
Bias Tape | Clean, finished edge | Edges of the hood and towel |
Pom-Pom Trim | Playful, whimsical look | Adding a fun border |
Ric Rac | Classic, decorative touch | Creating a textured border |
Lace | Elegant, feminine detail | Adding a delicate touch |
When choosing trim, think about the overall style of your towel. A simple, minimalist towel might benefit from a bold, colorful trim, while a more elaborate towel might look best with a subtle, understated trim. As with appliques, be sure to choose trim that is soft, durable, and safe for babies. With a little creativity, you can transform a plain hooded towel into a one-of-a-kind masterpiece.
Tips and Tricks for Perfecting Your Baby Hooded Towel
Tips and Tricks for Perfecting Your Baby Hooded Towel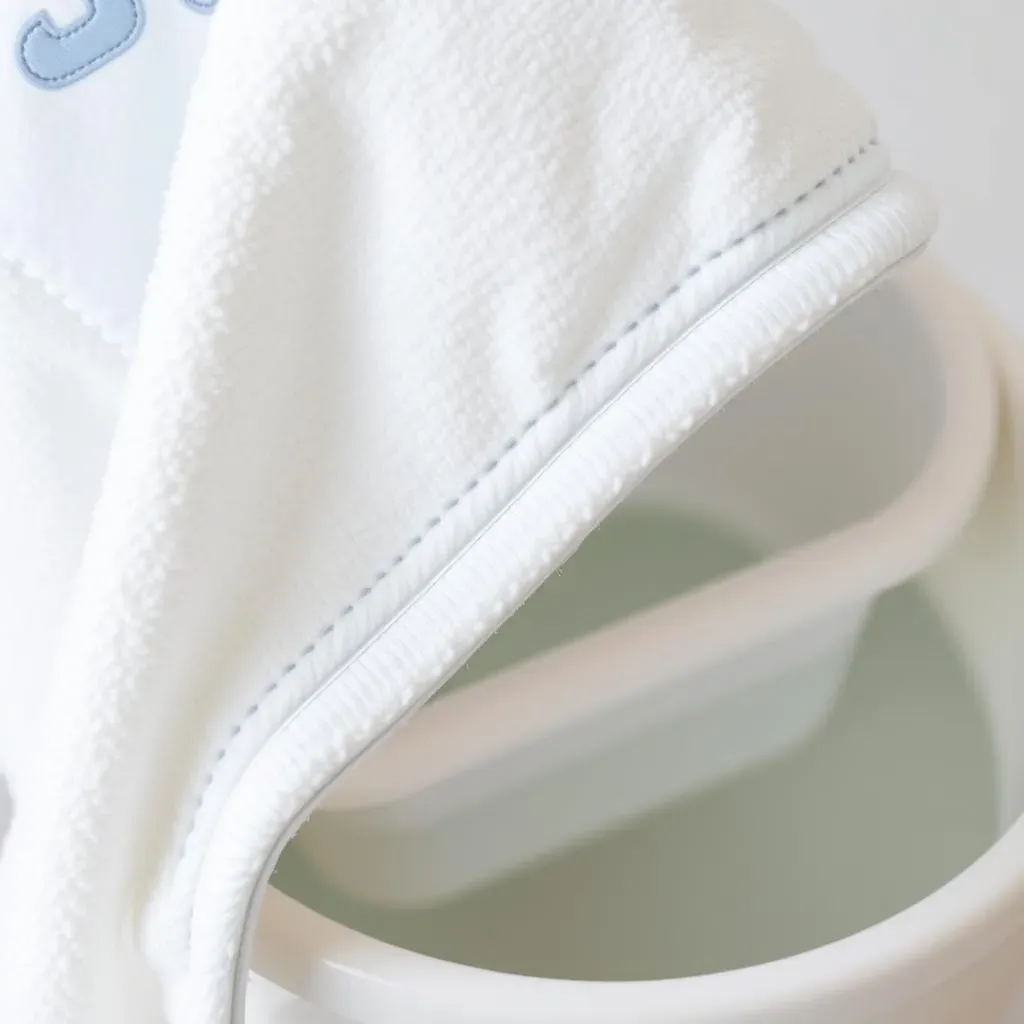
Choosing the Right Fabric Combination
Selecting the right fabric isn't just about softness; it's about absorbency and durability too. Consider pairing a plush terry cloth for the towel body with a lighter, equally absorbent cotton flannel for the hood. This combo ensures the towel is super absorbent where it matters most, while the hood remains gentle against baby's face. I learned this the hard way after making a towel with a terry cloth hood that was way too rough. Live and learn, right?
Also, think about colorfastness. Dark colors might look stylish, but they can bleed onto lighter fabrics during washing. Stick to lighter shades or pre-wash dark fabrics separately to avoid any mishaps. Nobody wants a tie-dye baby towel unless it's intentional!
Fabric Type | Pros | Cons | Best For |
|---|---|---|---|
Terry Cloth | Excellent absorbency, durable | Can be rough on sensitive skin | Towel body |
Bamboo | Incredibly soft, eco-friendly | More expensive | Towel body or hood |
Cotton Flannel | Soft, lightweight, absorbent | Can shrink easily | Hood |
Microfiber | Quick-drying, lightweight | Not as absorbent as natural fibers | Trim or accents |
Mastering the Art of Seam Allowance
Seam allowance might sound like a minor detail, but it can make or break your project. A consistent ½ inch seam allowance is generally recommended for baby hooded towels. It provides enough room for a secure seam without adding unnecessary bulk. However, if you're using a particularly thick fabric, you might want to increase the seam allowance to ¾ inch to prevent the seams from pulling apart.
Also, remember to trim your seam allowances after sewing. This reduces bulk and makes the seams lie flatter. For curved seams, like the hood, clip into the seam allowance every ½ inch or so. This allows the fabric to spread and prevents puckering. Trust me, your iron will thank you!
Snuggle Up with Your Handmade Baby Hooded Towel
Congratulations, you've just learned how to make a baby hooded towel! This project is more than just sewing; it's about creating something special with your own hands. Every stitch carries a bit of your love and care, making it a cherished item for any little one. Whether it becomes a go-to gift or a staple in your own home, this DIY hooded towel is sure to bring warmth and smiles. So go ahead, wrap your little bundle of joy in comfort and bask in the satisfaction of a job well done!