Table of Contents
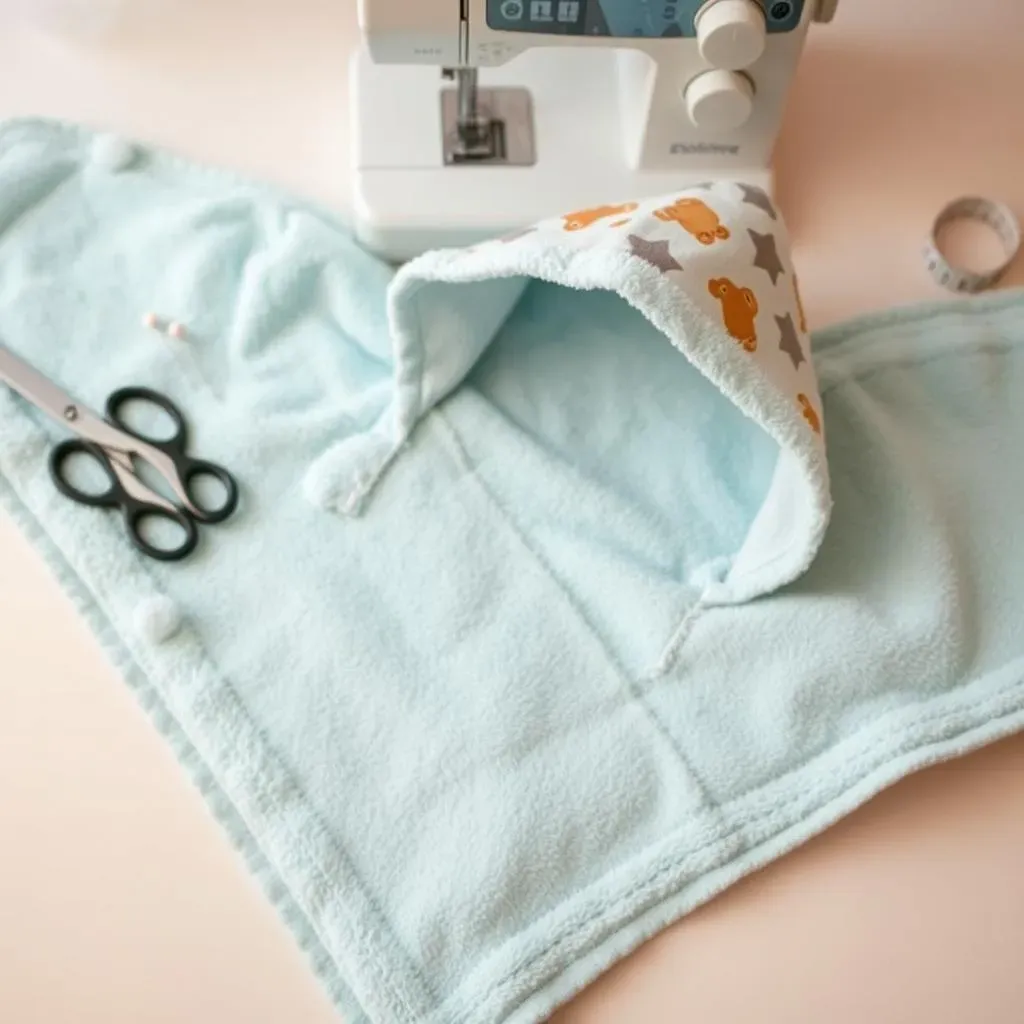
Looking for a heartfelt, handmade gift for a new baby? Or perhaps you're simply tired of those thin, generic baby towels from the store? Learning how to make a baby towel is easier than you might think, and the result is a cozy, personalized item that any parent will appreciate. This guide walks you through each step of the process, from selecting the softest terry cloth to adding a charming hood. We'll cover everything from cutting the fabric and sewing the hood, to attaching the hood and creating a neat, professional-looking binding. Whether you're a seasoned seamstress or a confident beginner, this project is designed to be fun and rewarding. Imagine the joy of wrapping a little one in a towel made with love, knowing you created something special just for them. Let's get started and transform simple materials into a cherished keepsake. By the end of this guide, you'll not only know how to make a baby towel, but you'll also have the skills and confidence to tackle other sewing projects too!
Gathering Supplies to Make a Baby Towel
Gathering Supplies to Make a Baby Towel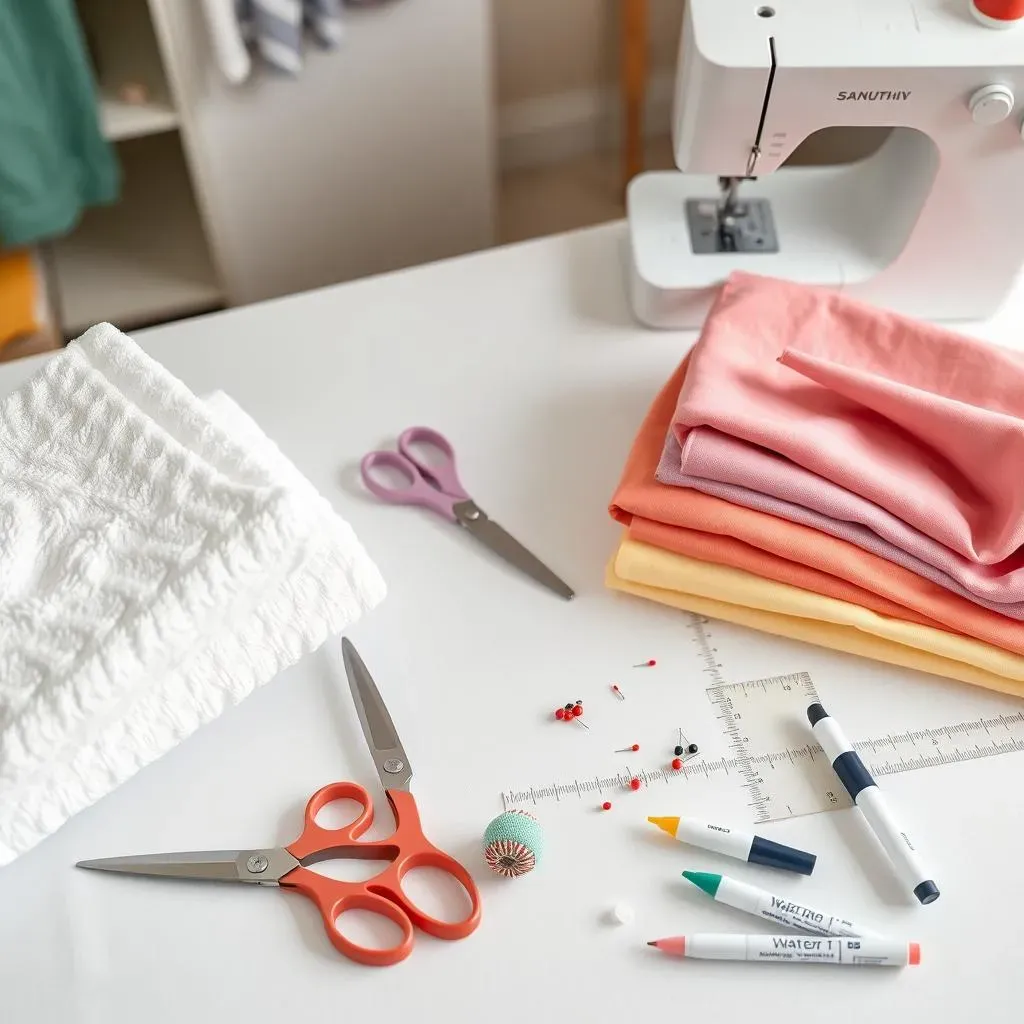
Choosing the Right Fabrics
so you're ready to dive into making your own baby towel? Awesome! First things first, let's talk fabric. The most important thing here is softness. I mean, we're talking about a baby's delicate skin, right? You absolutely can't go wrong with a premium cotton terry towel. Seriously, splurge a little here. The cheap stuff can feel rough and scratchy, even after washing. Think about it: you want something absorbent, gentle, and durable enough to withstand countless washes. Trust me, a good quality terry cloth will make all the difference in the finished product. It will thank you for it, and so will the baby!
Now, for the binding and hood lining (if you're going that route), you'll want to pick a soft cotton fabric. Think about coordinating colors or fun patterns! This is where you can really let your personality shine. A lightweight cotton poplin or even a flannel can work wonders. Just make sure it's pre-washed! You don't want any surprises after you've sewn everything together. Imagine the horror of the binding shrinking and puckering after the first wash! Pre-washing is your friend, always. It prevents shrinkage and ensures the colors won't run.
Fabric Type | Recommended Use | Why it's Great |
|---|---|---|
Premium Cotton Terry Towel | Main towel body | Super absorbent, soft, and durable |
Lightweight Cotton Poplin | Binding, hood lining | Soft, easy to work with, comes in fun patterns |
Cotton Flannel | Binding, hood lining (for extra cozy feel) | Extra soft and warm, perfect for winter babies |
Essential Sewing Notions and Tools
Alright, fabric sorted! What else do we need? Of course, you'll need the usual suspects: a sewing machine (obviously!), good quality thread (cotton or poly-cotton blend works well), sharp scissors or a rotary cutter, a cutting mat, and a clear ruler. Pins are your best friend here, especially when working with slippery terry cloth. And don't forget a seam ripper! Because, let's be honest, we all make mistakes. A water-soluble marking pen is also super handy for transferring patterns and marking sewing lines. It disappears with a little water, so no worries about permanent marks.
Beyond the basics, consider a few extras that can make your life easier. A walking foot for your sewing machine is a game-changer when sewing bulky fabrics like terry cloth. It helps feed the fabric evenly, preventing it from slipping and bunching up. And a point turner is perfect for getting those crisp corners on your hood. Speaking of the hood, you can find free patterns online, or even draft your own! I also recommend having a good iron and ironing board on hand. Pressing your seams as you go will give your finished towel a professional look. Trust me, it's worth the extra effort!
Cutting and Preparing the Fabric for Your Baby Towel
Cutting and Preparing the Fabric for Your Baby Towel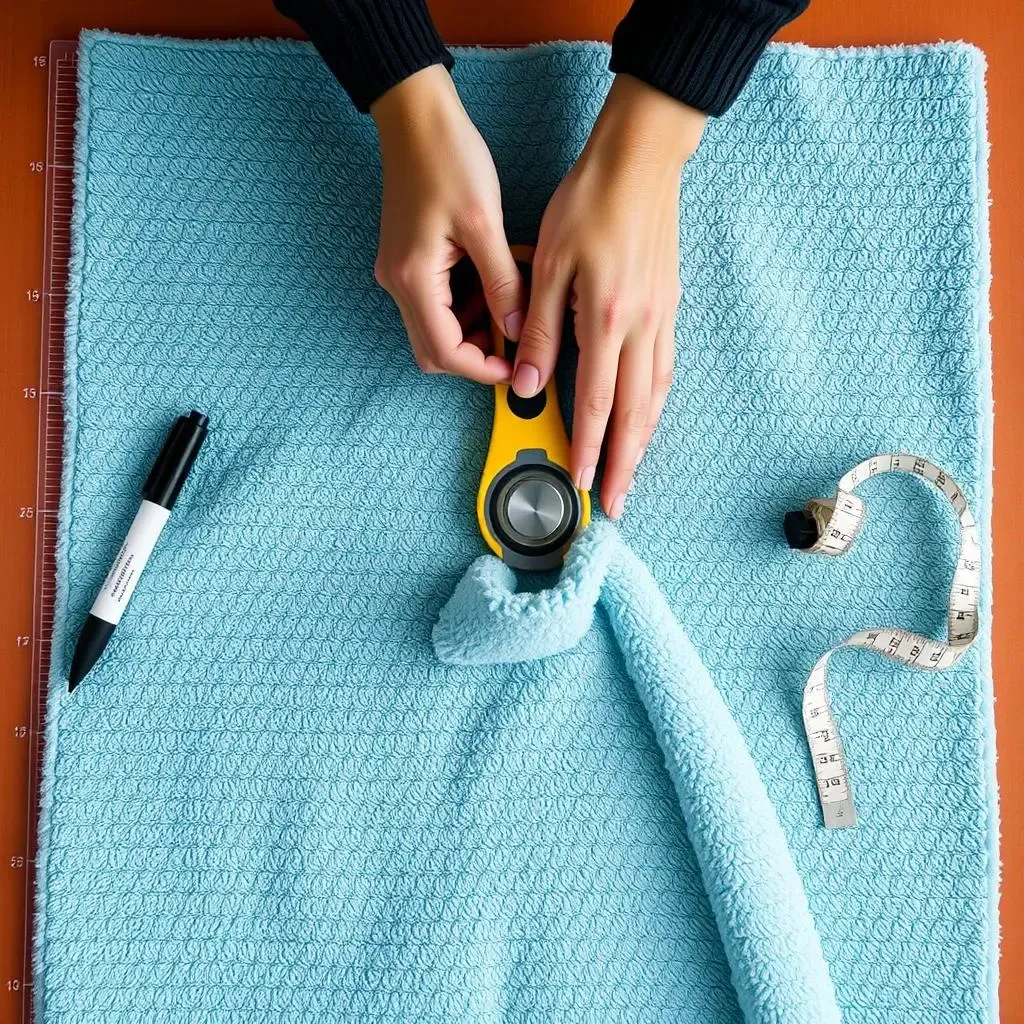
you've got your dreamy fabrics and all the right tools – now for the slightly nerve-wracking part: cutting! Don't worry, it's not as scary as it sounds. First, give your terry cloth and cotton a good press. This will help prevent any shifting during cutting. Lay your terry cloth out on your cutting mat, nice and flat. If you're using a pattern for the towel itself (some people like to round the corners, for example), pin it in place. Otherwise, just measure out your desired dimensions and mark them with your water-soluble pen. Remember, a standard baby towel is around 30x30 inches, but feel free to adjust it to your liking. Now, grab your sharp scissors or rotary cutter and carefully cut along the lines. Accuracy is key here, so take your time! Repeat the process with your cotton fabric for the hood and binding. And remember, measure twice, cut once! It's an old saying, but it's true!
Once you've cut all your pieces, it's a good idea to finish the edges of the terry cloth with a serger or a zigzag stitch. This will prevent fraying and give your towel a more professional finish. If you don't have a serger, don't sweat it! A simple zigzag stitch will do the trick. Just make sure to use a slightly wider stitch and go slowly to avoid stretching the fabric. And before you start sewing anything together, double-check all your measurements. It's always better to catch a mistake now than after you've sewn half the towel! Trust me, I've been there, done that. It's not fun.
Sewing the Hood: A Key Step in Making Your Baby Towel
Sewing the Hood: A Key Step in Making Your Baby Towel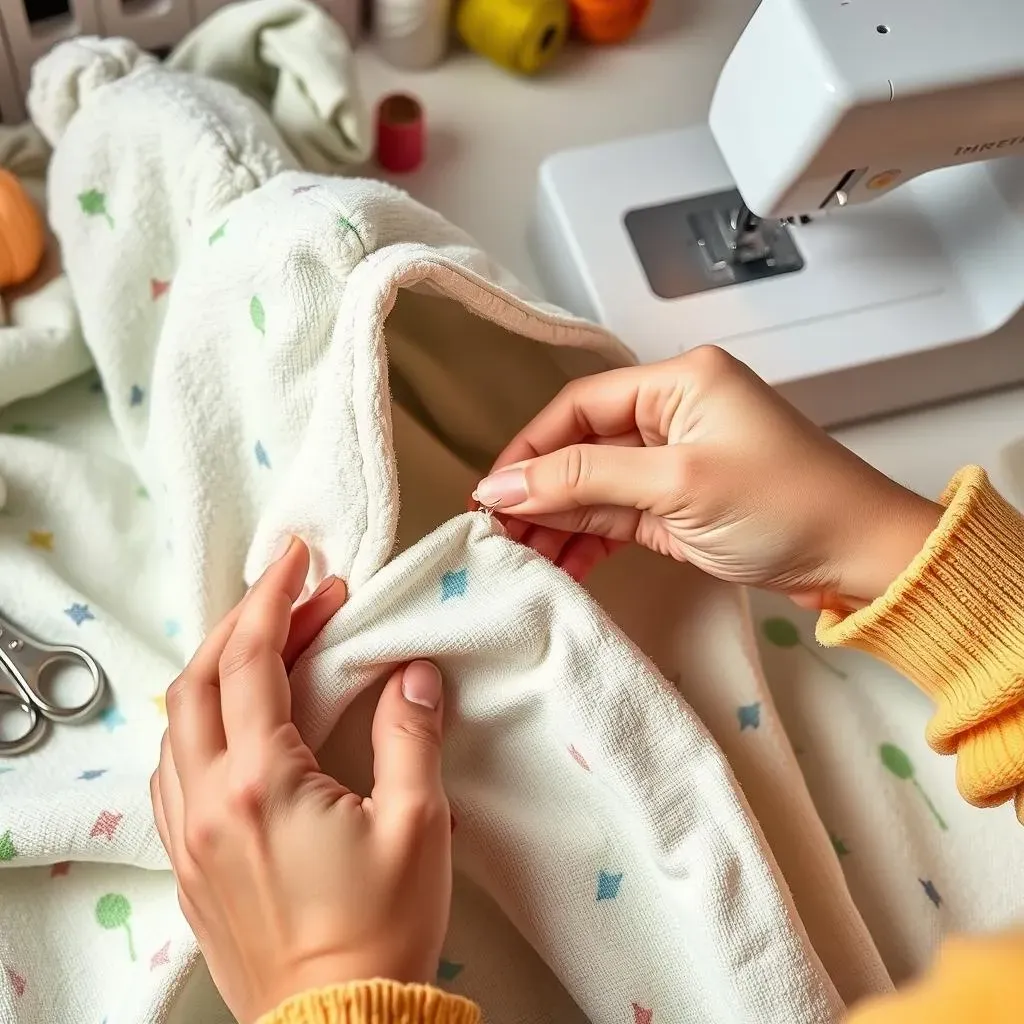
Crafting the Perfect Hood Shape
Alright, let's get to the fun part – the hood! This is where your baby towel really starts to take shape. Grab the hood pattern piece you've either downloaded or drafted yourself. Fold your cotton fabric in half, right sides together, and pin the pattern onto the fabric. Make sure the straight edge of the pattern is aligned with the fold. This will create a symmetrical hood. Now, carefully cut around the pattern, leaving a seam allowance of about 1/2 inch. Once you've cut it out, unfold the hood piece. You should now have two identical hood pieces. Pin them together, right sides facing, along the curved edge. This is where the magic happens!
Now, head over to your sewing machine and stitch along the curved edge, using a 1/2 inch seam allowance. Backstitch at the beginning and end to secure the seam. Once you've sewn the seam, trim the seam allowance to reduce bulk. This will help the hood lie flat. You can also clip into the curve, being careful not to cut through the stitching. This will allow the curve to spread open nicely. Turn the hood right side out and use a point turner to gently push out the corner. Give it a good press with your iron. A well-pressed hood is a happy hood!
Attaching the Hood to the Towel Body
With your hood beautifully sewn and pressed, it's time to attach it to the towel. Find the center of the top edge of your terry cloth towel. Fold the towel in half to find the center point, and mark it with a pin. Now, find the center of the hood by folding it in half and marking the center point with a pin as well. Align the two center points, right sides together, and pin the hood to the towel. Make sure the hood is centered and that the raw edges of the hood are aligned with the raw edge of the towel. Pin, pin, pin! Pins are your friends here. They will keep everything in place while you sew.
Head back to your sewing machine and stitch the hood to the towel, using a 1/2 inch seam allowance. Backstitch at the beginning and end to secure the seam. Once you've sewn the seam, press the seam allowance up towards the hood. This will help the hood to stand up nicely. Now, for extra security and a professional finish, you can topstitch along the seam line, close to the edge of the hood. This will further secure the hood to the towel and give it a clean, finished look. And there you have it – the hood is attached! You're one step closer to having a finished baby towel.
Tips for a Professional-Looking Hood
Want to take your hood game to the next level? Consider adding a decorative trim or embellishment to the hood edge. A simple pom-pom trim, a delicate lace, or even a contrasting fabric binding can add a touch of personality and make your towel truly unique. You can also embroider a cute design or the baby's name onto the hood. Just be sure to use a soft, baby-friendly thread and stabilizer to prevent irritation.
Another tip for a professional finish is to use a lining for the hood. This will give the hood extra structure and prevent the terry cloth from showing on the inside. Simply cut two hood pieces from your cotton fabric, sew them together, and then attach the lining to the terry cloth hood. This will create a clean, polished look. And finally, don't be afraid to experiment with different hood shapes and sizes. A pointy elf-shaped hood, a rounded bear-ear hood, or even a simple square hood can all be adorable options. Let your creativity shine and have fun with it!
Tip | Description |
|---|---|
Add Decorative Trim | Pom-poms, lace, or contrasting fabric binding for a unique touch. |
Embroider a Design | Personalize with a cute design or the baby's name. |
Use a Hood Lining | Gives extra structure and a clean finish. |
Attaching the Hood and Creating Binding for the Baby Towel
Attaching the Hood and Creating Binding for the Baby Towel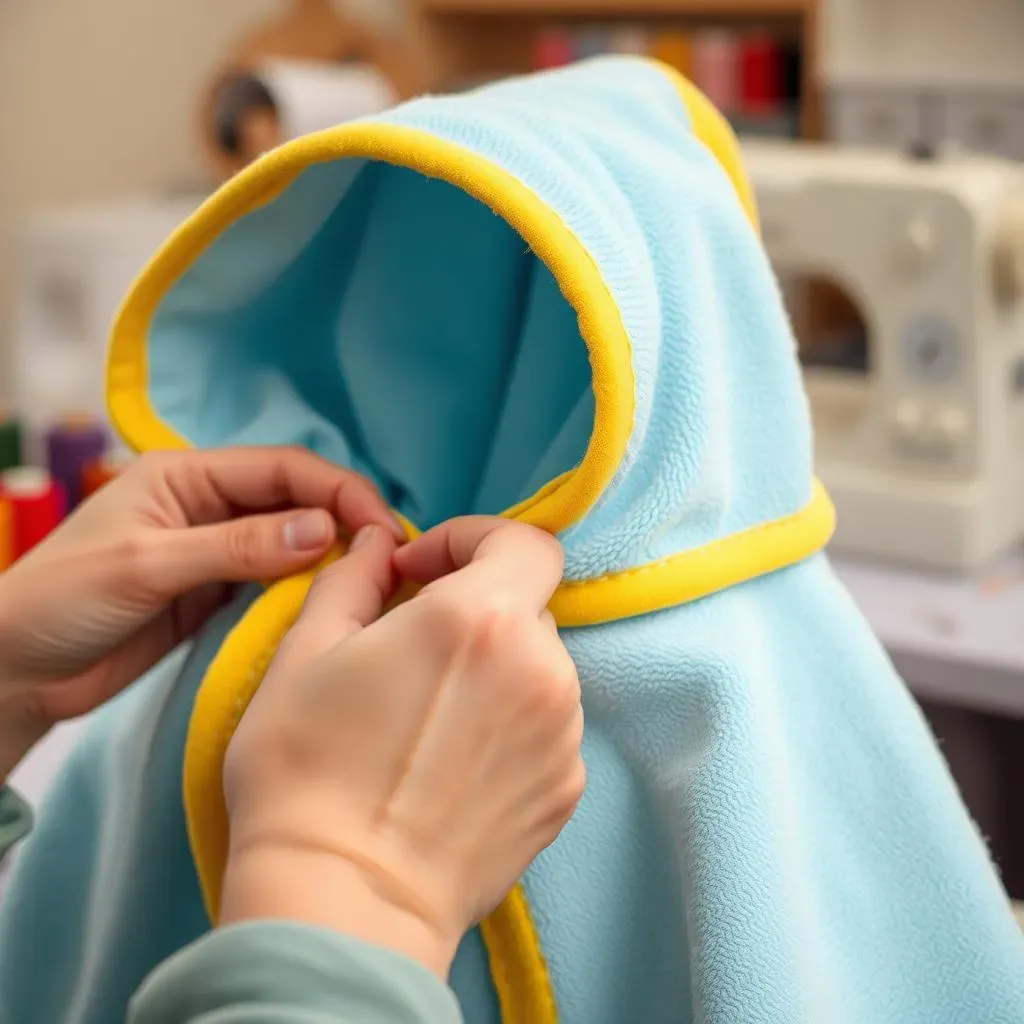
Securing the Hood Seamlessly
so the hood's prepped, and now we're ready to attach it like a pro! Remember that 1/2 inch seam allowance from when you attached the hood to the towel? We're going to deal with that now. Fold that seam allowance up towards the hood and give it a good press. This creates a nice, clean edge. Now, topstitch along the edge of the hood, about 1/4 inch from the seam. This not only secures the hood even further, but it also adds a decorative touch. Use a matching thread for a subtle look, or a contrasting thread for a pop of color. The key here is to sew slowly and carefully, keeping your stitches straight and even. A wobbly topstitch can ruin the whole look, so take your time and focus!
For an extra layer of security, you can also add a second row of topstitching, closer to the edge of the hood. This is especially helpful if you're using a thicker fabric or if the baby is particularly active. You can also use a decorative stitch instead of a straight stitch for the topstitching. A simple zig-zag or a fancy scallop stitch can add a touch of whimsy. Just make sure the stitch is wide enough to catch both layers of fabric, but not so wide that it looks bulky. And remember, practice makes perfect! If you're not confident in your topstitching skills, practice on a scrap piece of fabric first. It's always better to make mistakes on a scrap than on your finished towel!
Crafting and Attaching the Perfect Binding
Alright, let's talk binding! This is what will give your baby towel that professional, finished look. First, you'll need to cut your binding strips. I recommend cutting them about 3 inches wide. The length will depend on the size of your towel, but you'll need enough to go all the way around the perimeter. It's always better to cut a little extra than not enough. You can always trim off the excess later. Once you've cut your strips, fold them in half lengthwise, wrong sides together, and press. This creates a nice, crisp fold that will make it easier to attach the binding to the towel.
Now, open up the folded binding strip and align the raw edge with the raw edge of the towel, right sides together. Pin the binding to the towel, starting at one corner. As you pin, make sure the binding is evenly distributed around the towel. When you reach a corner, create a mitered corner by folding the binding at a 45-degree angle. This will give you a neat, professional-looking corner. Once you've pinned the binding all the way around the towel, head to your sewing machine and stitch the binding to the towel, using a 1/2 inch seam allowance. Backstitch at the beginning and end to secure the seam. When you reach a corner, pivot the fabric and continue sewing. Once you've sewn the binding to the towel, fold it over to the wrong side of the towel, encasing the raw edge. Pin in place and then topstitch close to the edge to secure. Boom! You've bound your towel!
Binding Step | Description | Tip |
|---|---|---|
Cutting Strips | Cut 3-inch wide strips, length depends on towel size. | Cut extra length; you can always trim. |
Folding & Pressing | Fold strips in half lengthwise, wrong sides together, and press. | Crisp folds make attachment easier. |
Attaching Binding | Align raw edge of binding with raw edge of towel, right sides together. | Use plenty of pins for even distribution. |
Finishing Touches: Completing Your Homemade Baby Towel
Finishing Touches: Completing Your Homemade Baby Towel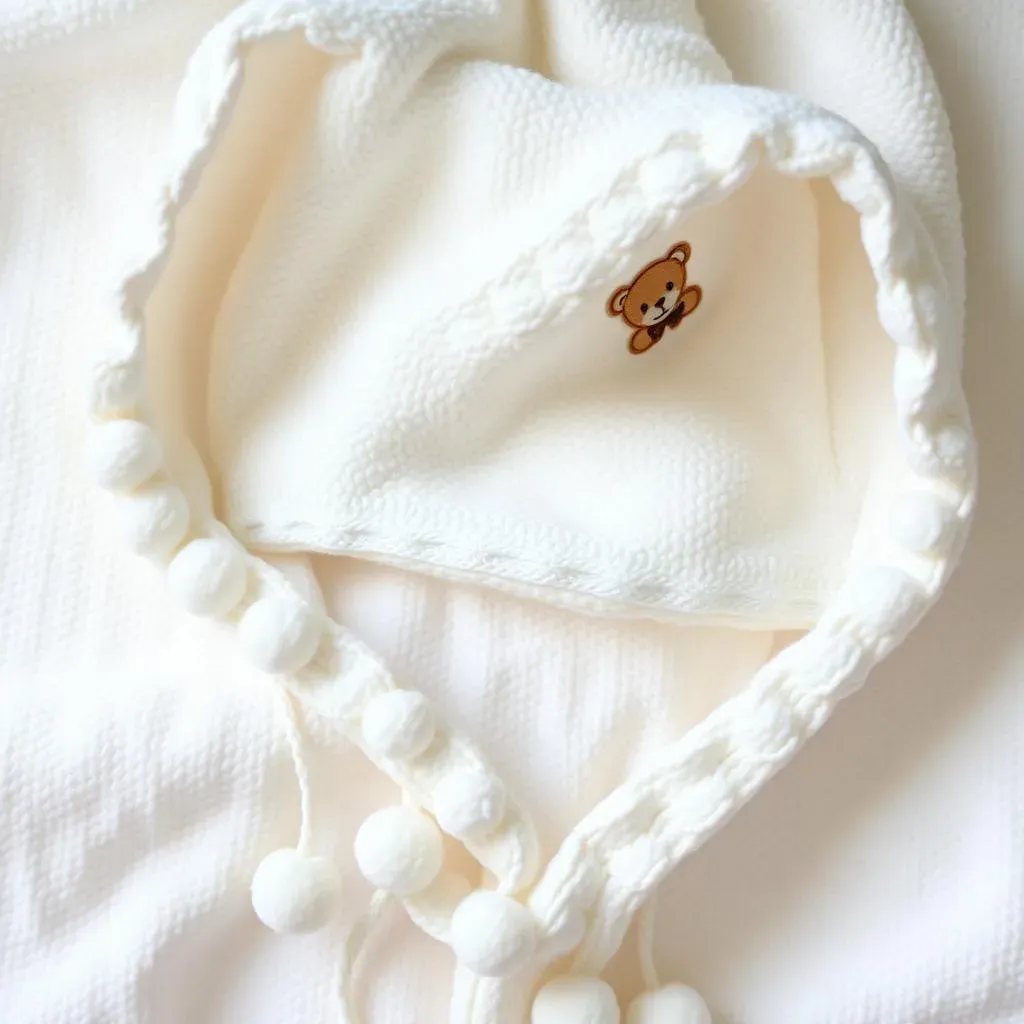
Trimming and Clipping for a Smooth Finish
you've sewn the hood and attached the binding – almost there! Now, let's talk about those little details that make all the difference. First, grab your scissors and carefully trim away any excess fabric from the seam allowances, especially around the corners. This will reduce bulk and make the edges lie flat. Be careful not to cut into the stitching! I like to use small, sharp scissors for this, as they give you more control. And don't forget to clip the curves! Clipping involves making small snips into the seam allowance, almost to the stitching line. This allows the fabric to spread open and prevents puckering. It's like giving the fabric a little breathing room.
Once you've trimmed and clipped, give the whole towel a good press with your iron. This will set the seams and create a crisp, professional finish. Pay special attention to the binding, making sure it's lying flat and even. A well-pressed towel looks so much more polished and put-together. And while you're at it, check for any loose threads or stray pins. These little things can detract from the overall look of your towel. A quick once-over with a seam ripper will take care of any unwanted threads. And always, always double-check for pins before giving the towel to a baby! Safety first!
Adding Personal Embellishments
Now for the really fun part – adding those personal touches that make your baby towel truly unique! Think about adding a cute applique to the hood, like a little animal or a star. You can find tons of free applique patterns online, or even design your own! Simply cut out the applique from a contrasting fabric, fuse it to the hood with fusible web, and then stitch around the edges. Embroidery is another great way to personalize your towel. You can embroider the baby's name, a birthdate, or a sweet little message. If you're not comfortable with freehand embroidery, you can use an embroidery machine or even hand-stitch a simple design.
And don't forget about trims! A simple pom-pom trim, a delicate lace, or even a contrasting fabric binding can add a touch of whimsy and personality to your towel. You can attach the trim to the edge of the hood or around the entire perimeter of the towel. Just make sure to use a soft, baby-friendly trim that won't irritate the baby's skin. Another fun idea is to add a loop for hanging the towel. Simply cut a small strip of fabric, fold it in half, and stitch it to the corner of the towel. This makes it easy to hang the towel up to dry. Remember, the possibilities are endless! Let your creativity shine and have fun with it!
Embellishment | Description | Tip |
|---|---|---|
Applique | Add a cute shape to the hood. | Use fusible web for easy attachment. |
Embroidery | Personalize with a name or design. | Use soft, baby-friendly thread. |
Trim | Add pom-poms, lace, or a contrasting fabric. | Ensure trim is soft and safe for baby. |
Care Instructions for Longevity
You've poured your heart and soul into creating this beautiful baby towel, so you want to make sure it lasts! To keep your towel looking its best, it's important to follow a few simple care instructions. First, always wash the towel in cold water with a mild detergent. Hot water can cause the colors to fade and the fabric to shrink. And avoid using bleach, as it can damage the fibers and irritate the baby's skin. Tumble dry on low heat or, even better, hang the towel up to dry. This will prevent shrinkage and keep the towel soft and fluffy.
If you've added any delicate embellishments, like lace or pom-poms, you may want to consider hand-washing the towel. This will help protect the embellishments from damage. And always avoid ironing the embellishments, as this can melt or distort them. With proper care, your handmade baby towel will last for years to come, becoming a cherished keepsake that the baby (and their parents) will treasure. And who knows, maybe one day you'll be teaching your own grandchildren how to make a baby towel!
Wrapping Up Your Homemade Baby Towel Journey
Congratulations! You've successfully learned how to make a baby towel, creating a unique and practical gift from the heart. This project not only provides a soft and cozy essential for bath time but also offers the satisfaction of crafting something beautiful and personal. Feel proud of your new skills and the thoughtful present you've made. With a little creativity, you can customize these towels with different fabrics, colors, and embellishments to suit any baby's style. So go ahead, experiment, and continue to spread the warmth and comfort of your handmade creations!