Table of Contents
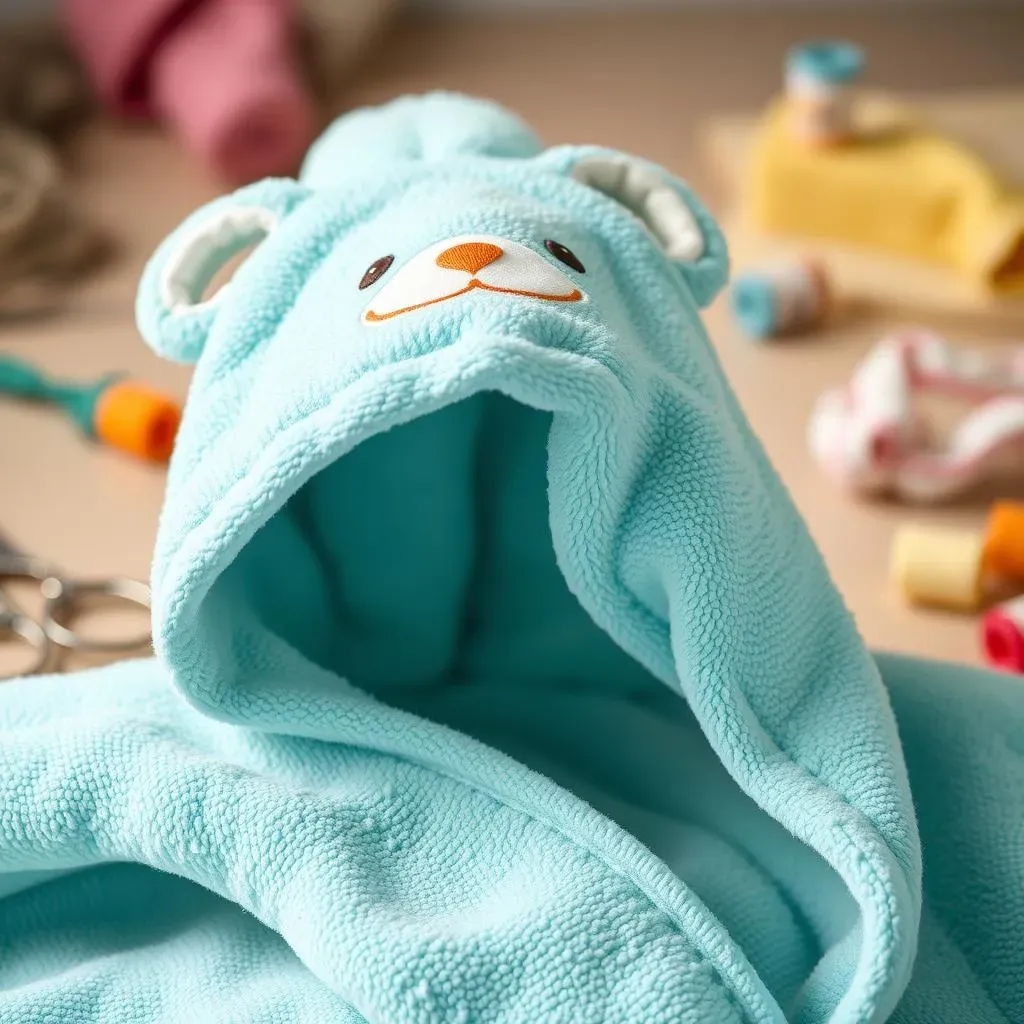
Looking for a way to add a personal touch to your baby's bath time? Forget those generic store-bought towels! This guide shows you how to make a hooded baby towel that's not only practical but also a heartfelt gift. Think bigger, softer, and way more cuddle-worthy than anything you'll find on the shelves.
Gathering Supplies to Make a Hooded Baby Towel
Gathering Supplies to Make a Hooded Baby Towel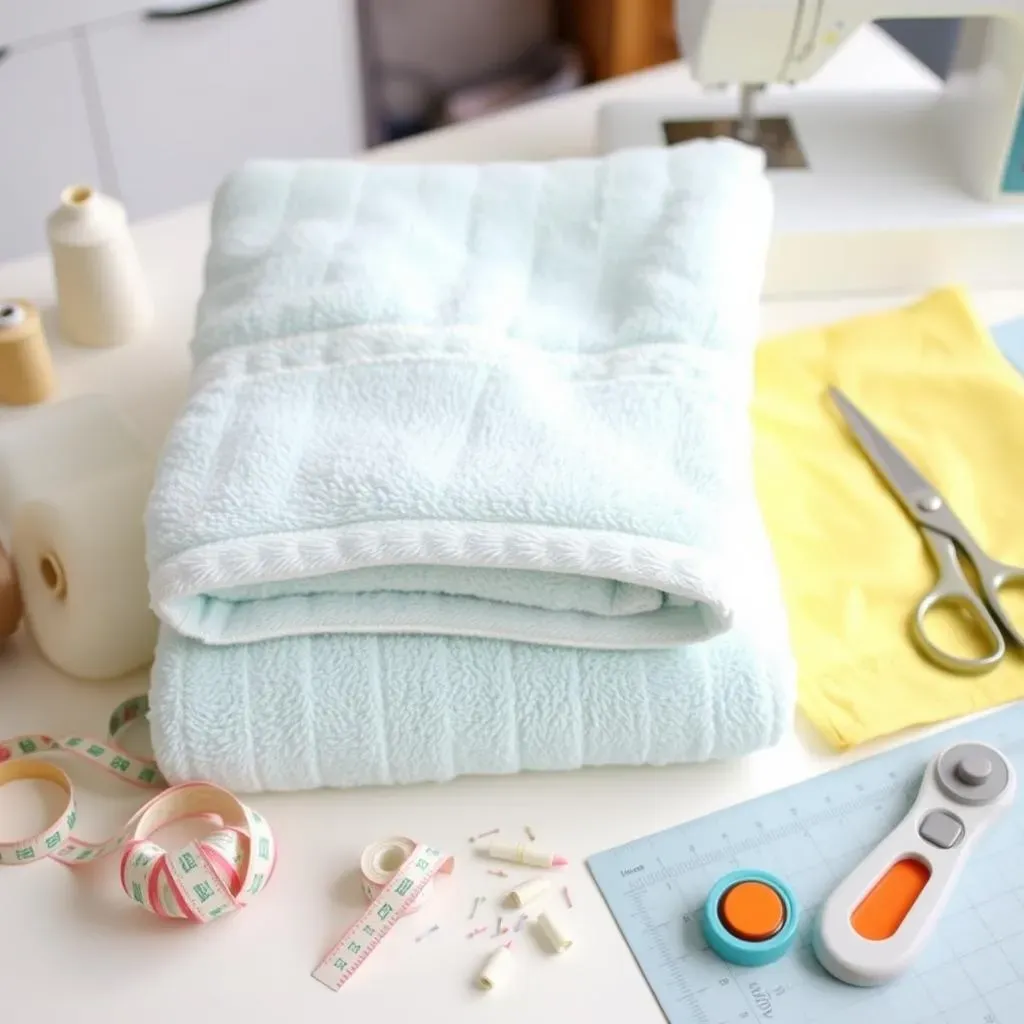
Choosing the Right Towels
so first things first, let's talk towels. You'll need two: a full-size bath towel and a hand towel. For the bath towel, go big! An oversized one gives you more to work with and wraps your little one up nice and snug. Think about the material, too. Terry cloth is classic for its absorbency, but you could also use a softer alternative like bamboo if your baby has sensitive skin. As for the hand towel, this will become the hood, so pick something that complements the bath towel in color and texture. I once used a super fluffy microfiber hand towel with a regular terry cloth bath towel, and it was the softest, cutest thing ever!
Don't skimp on quality here. You want something that will hold up to lots of washes and still feel good against your baby's skin. Pre-wash everything before you start sewing to avoid any shrinking or color bleeding later on. Trust me, you don't want to put all that work in only to have your adorable hooded towel come out a size smaller after the first wash. Also, give them a good sniff – you want that fresh, clean laundry smell, not anything chemical-y.
Towel Type | Material | Size Recommendation | Considerations |
|---|---|---|---|
Bath Towel | Terry cloth, Bamboo, Microfiber | Oversized (at least 30" x 50") | Absorbency, softness, durability |
Hand Towel | Terry cloth, Bamboo, Microfiber | Standard size (around 16" x 28") | Complementary to bath towel, softness |
Other Essential Notions
Beyond the towels, you'll need a few other bits and bobs to make this project a success. Thread, obviously! Choose a color that matches or complements your towels. I usually go for a neutral like white or cream, just in case. You'll also want some ribbon – this is optional, but it adds a nice finishing touch to the hood. Pick a ribbon that's soft and washable, and maybe a fun pattern or color to give your towel some personality. I had a friend who used a grosgrain ribbon with little rubber duckies on it – so cute!
Finally, gather your sewing essentials: a sewing machine (unless you're feeling ambitious and want to hand-sew!), scissors or a rotary cutter, pins, a measuring tape or ruler, and a marking pen or fabric chalk. A rotary cutter and mat make cutting the fabric super easy and precise, but scissors work just fine too. Make sure your pins are sharp so they don't snag the fabric, and test your marking pen on a scrap of towel to make sure it washes out. With all your supplies in hand, you're ready to start transforming those towels into a cozy hooded masterpiece!
StepbyStep Guide: How to Make a Hooded Baby Towel
StepbyStep Guide: How to Make a Hooded Baby Towel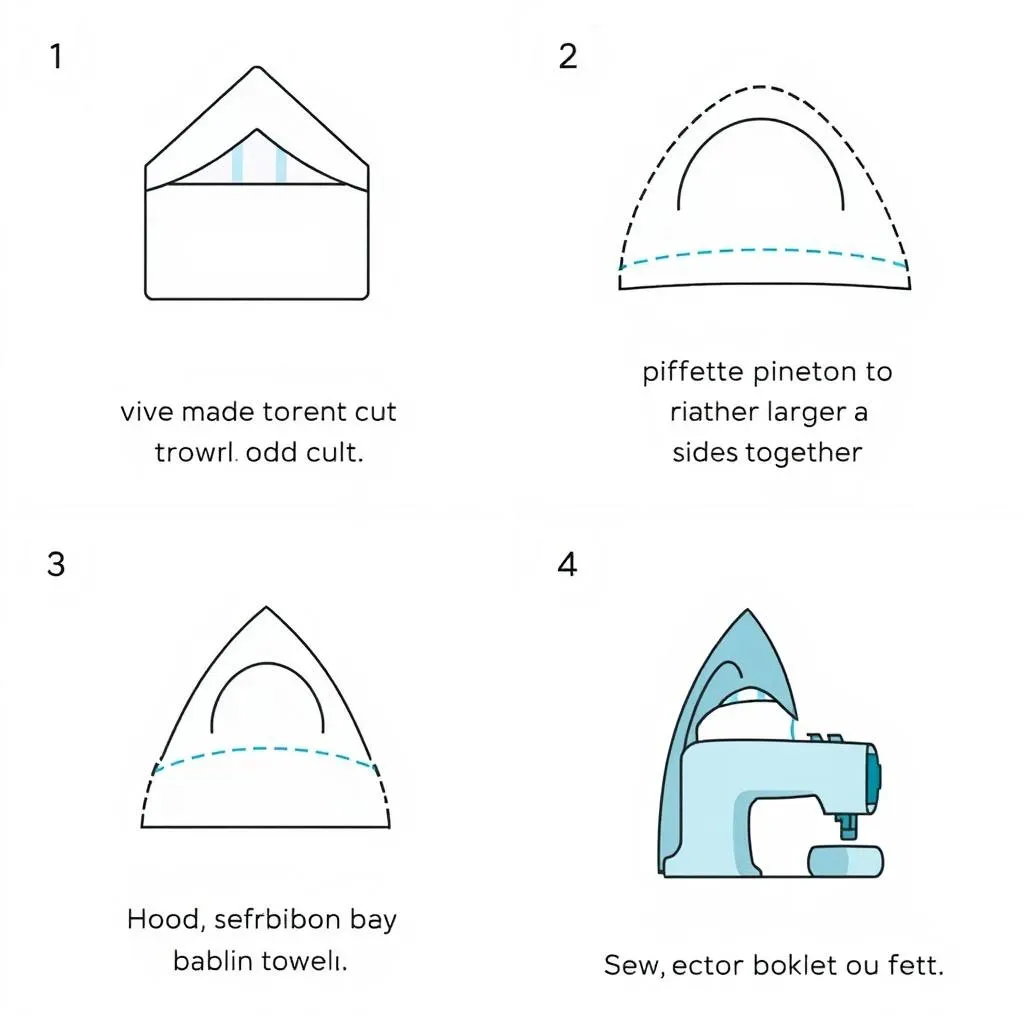
Cutting and Shaping the Hood
Alright, let's get down to business! Grab that hand towel – it's hood-making time. Fold it in half lengthwise and give it a good press with your iron. This helps create a nice, crisp edge to work with. Now, depending on how pointy or rounded you want the hood to be, you've got a couple of options. For a pointy hood, simply cut along the open edges at a slight angle, creating a triangle shape. For a rounded hood, use a plate or bowl as a template and trace a curved line from the folded edge to the open edges. Then, just cut along that line. I personally prefer the rounded hood – it looks extra cute and cozy!
Once you've cut the hood shape, unfold it and you'll have a symmetrical piece that's ready to be sewn onto the bath towel. Before you move on, take a moment to finish the curved or angled edge. You can use a serger if you have one, or simply fold the edge over twice and stitch it down with a straight stitch. This prevents fraying and gives the hood a clean, professional look. Remember that ribbon we talked about? This is the perfect time to add it! Simply pin the ribbon along the finished edge of the hood, overlapping the raw edge slightly, and stitch it in place. It's all about those little details that make your hooded towel extra special.
- Pointy Hood: Cut angled lines from folded edge to open edges.
- Rounded Hood: Trace a plate or bowl for a curved line, then cut.
- Finishing the Edge: Serge or fold over and stitch to prevent fraying.
- Adding Ribbon: Pin and stitch ribbon along the finished edge for a decorative touch.
Attaching the Hood to the Towel
Now for the main event: attaching the hood to the bath towel! Lay your bath towel flat, right side up. Find the center of one of the short edges – this is where the hood will go. Fold your hood in half again, matching the finished edge, and mark the center point. Now, line up the center of the hood with the center of the bath towel edge, right sides together. Pin the hood to the towel, working your way out from the center to the edges. You might need to ease the hood fabric slightly to fit the towel, especially if you've made a rounded hood. Don't worry if it's not perfectly even – a little bit of gathering adds to the charm!
Once the hood is securely pinned, it's time to sew. Use a straight stitch to sew the hood to the towel, about 1/2 inch from the edge. Backstitch at the beginning and end to secure the seam. After you've sewn the seam, reinforce it with a zigzag stitch or serger to prevent fraying, especially if you're using terry cloth. This step is crucial for making your hooded towel durable and long-lasting. And there you have it – your very own, handmade hooded baby towel! Give it a good press, trim any stray threads, and get ready to wrap your little one in cozy goodness.
Step | Action | Tips |
|---|---|---|
1 | Find the center of the bath towel edge | Fold the towel in half to easily locate the center |
2 | Align the center of the hood with the center of the towel | Right sides together, pin securely |
3 | Sew the hood to the towel | Use a straight stitch, backstitching at the beginning and end |
4 | Reinforce the seam | Use a zigzag stitch or serger to prevent fraying |
Adding Personal Touches to Your Homemade Baby Towel
Adding Personal Touches to Your Homemade Baby Towel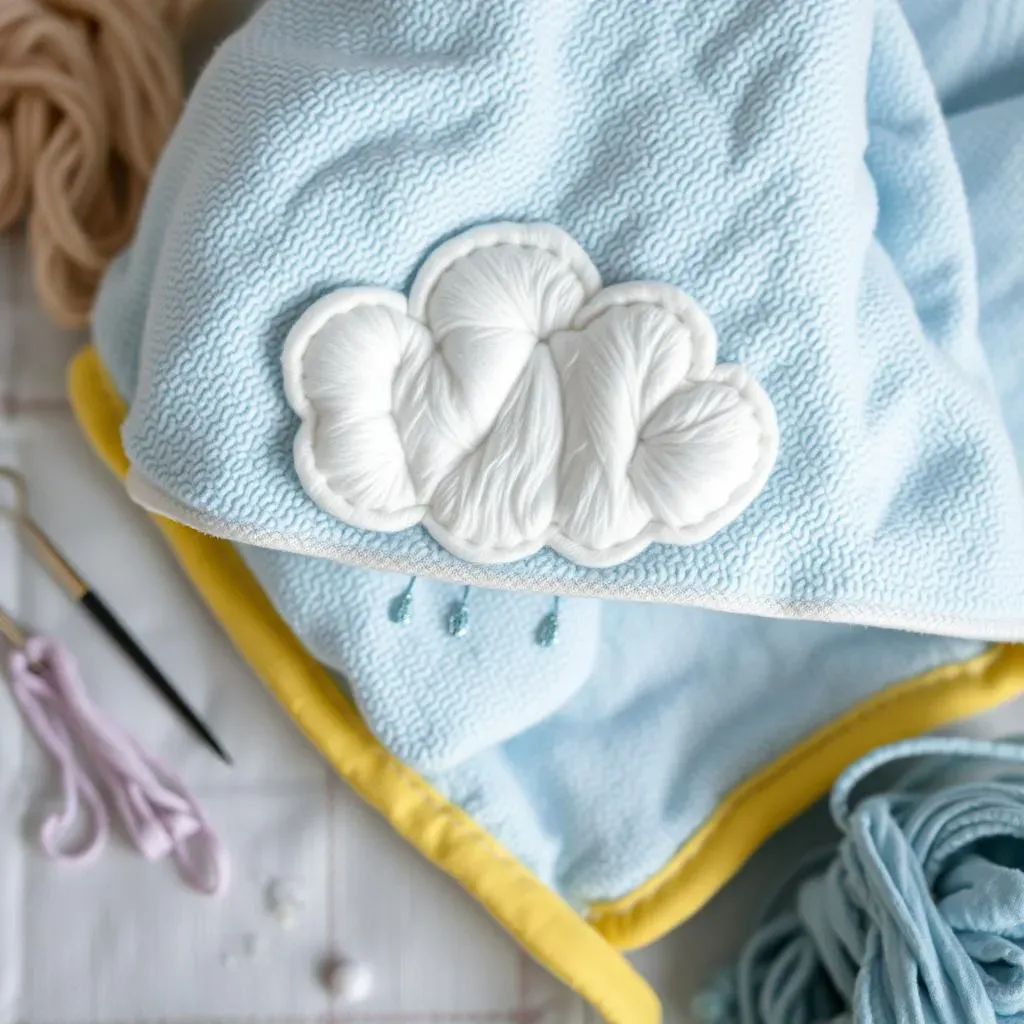
Embroidery and Appliqués
so you've got your basic hooded towel – now comes the really fun part! Let's talk personalization. Embroidery is a beautiful way to add a name, initials, or a sweet little design to your towel. If you're handy with a needle and thread, go for it! There are tons of free embroidery patterns online, or you can create your own. Not an embroidery expert? No problem! Appliqués are your friend. You can find all sorts of cute fabric shapes at craft stores, or even cut them out of old clothes. Simply pin the appliqué to the towel and stitch around the edges – easy peasy! I once made a hooded towel with a big, fluffy cloud appliqué and raindrops embroidered underneath. It was a huge hit!
Another fun idea is to add a border to the towel. You can use a contrasting fabric, ribbon, or even lace. Simply stitch it around the edges of the towel for a pop of color and texture. For a super personalized touch, consider using fabric scraps from baby's favorite outfits or blankets. It's a sweet way to create a keepsake that's both practical and sentimental. And don't forget about monograms! A simple monogram in a classic font can elevate your hooded towel from homemade to heirloom-worthy. Whether you choose embroidery, appliqués, or a combination of both, adding personal touches is what makes your hooded towel truly special.
- Embroidery: Add names, initials, or designs with needle and thread.
- Appliqués: Stitch fabric shapes onto the towel for a fun look.
- Borders: Use contrasting fabric, ribbon, or lace to frame the towel.
- Monograms: Personalize with a classic monogram for an elegant touch.
Care and Maintenance for Your DIY Hooded Baby Towel
Care and Maintenance for Your DIY Hooded Baby Towel
Washing and Drying Tips
Alright, you've poured your heart into creating this adorable hooded towel, so let's make sure it lasts! When it comes to washing, gentle is key. Use a mild, baby-friendly detergent to avoid irritating sensitive skin. Harsh chemicals can also break down the fibers of the towel, making it less soft and absorbent. I always wash my baby's towels separately from other laundry, just to be extra cautious. Think about using a laundry bag, especially if you've added delicate appliqués or embroidery. It's like giving your towel a little spa day in the washing machine!
For drying, low and slow is the way to go. Tumble drying on low heat is the gentlest option. High heat can cause shrinkage and damage the fabric, especially if you're using natural fibers like bamboo. If you have the time and space, line drying is even better! The sun is a natural disinfectant and can help keep your towels fresh and bright. Just avoid direct sunlight for extended periods, as it can fade the colors. And a little tip from my grandma: add a couple of dryer balls to the dryer to help fluff up the towels and reduce drying time. It's like a little hug for your hooded towel!
- Washing: Use mild, baby-friendly detergent.
- Drying: Tumble dry on low or line dry in the shade.
- Extra Care: Use a laundry bag for delicate embellishments.
Dealing with Stains and Odors
Let's face it: babies are messy! Stains and odors are just part of the deal. But don't worry, there are ways to keep your hooded towel looking and smelling fresh. For stains, act fast! The sooner you treat a stain, the easier it is to remove. A simple paste of baking soda and water can work wonders on many common baby stains. Just apply it to the stain, let it sit for a few minutes, and then gently rub it out before washing. For stubborn stains, you might need to use a stain remover specifically designed for baby clothes. Always test it on a small, inconspicuous area first to make sure it doesn't discolor the fabric.
As for odors, sometimes a regular wash just isn't enough. If your hooded towel is smelling a little funky, try adding a cup of white vinegar to the wash cycle. Vinegar is a natural deodorizer and can help eliminate lingering smells. Another trick is to sprinkle some baking soda on the towel before washing. Let it sit for about 30 minutes, then wash as usual. And remember, proper storage is key to preventing odors. Make sure your hooded towel is completely dry before folding it up and putting it away. Damp towels are a breeding ground for bacteria and mildew. With a little bit of care and attention, you can keep your DIY hooded baby towel fresh, clean, and ready for snuggle time!
Problem | Solution | Tips |
|---|---|---|
Stains | Baking soda paste or baby-safe stain remover | Treat stains immediately for best results |
Odors | White vinegar or baking soda in the wash cycle | Ensure the towel is completely dry before storing |
Wrap-Up: Your Snuggly, Homemade Hooded Baby Towel
So, you've successfully learned how to make a hooded baby towel! From a simple idea, you've crafted something practical, personal, and full of love. Whether it's a gift for a baby shower or a treat for your own little one, this homemade towel is sure to bring smiles and warmth. Remember, each towel tells a story, so let your creativity shine and make each one unique. Happy crafting, and may your baby's bath times be filled with cozy snuggles!