![Easy Guide: How to Make a Hooded Towel for Baby [Step-by-Step]](https://babyshop123.vn/api/media/file/how-to-make-a-hooded-towel-for-baby-1.webp)
Table of Contents
Looking for a cozy and adorable way to wrap up your little one after bath time? Learn how to make a hooded towel for baby with this simple, step-by-step guide! Forget those generic store-bought towels; we're diving into a fun DIY project that lets you create a personalized and practical gift (or keep it for your own bundle of joy!). This isn't just about sewing; it's about adding a touch of love and creativity to everyday moments.
Gathering Supplies to Make a Hooded Towel for Baby
Gathering Supplies to Make a Hooded Towel for Baby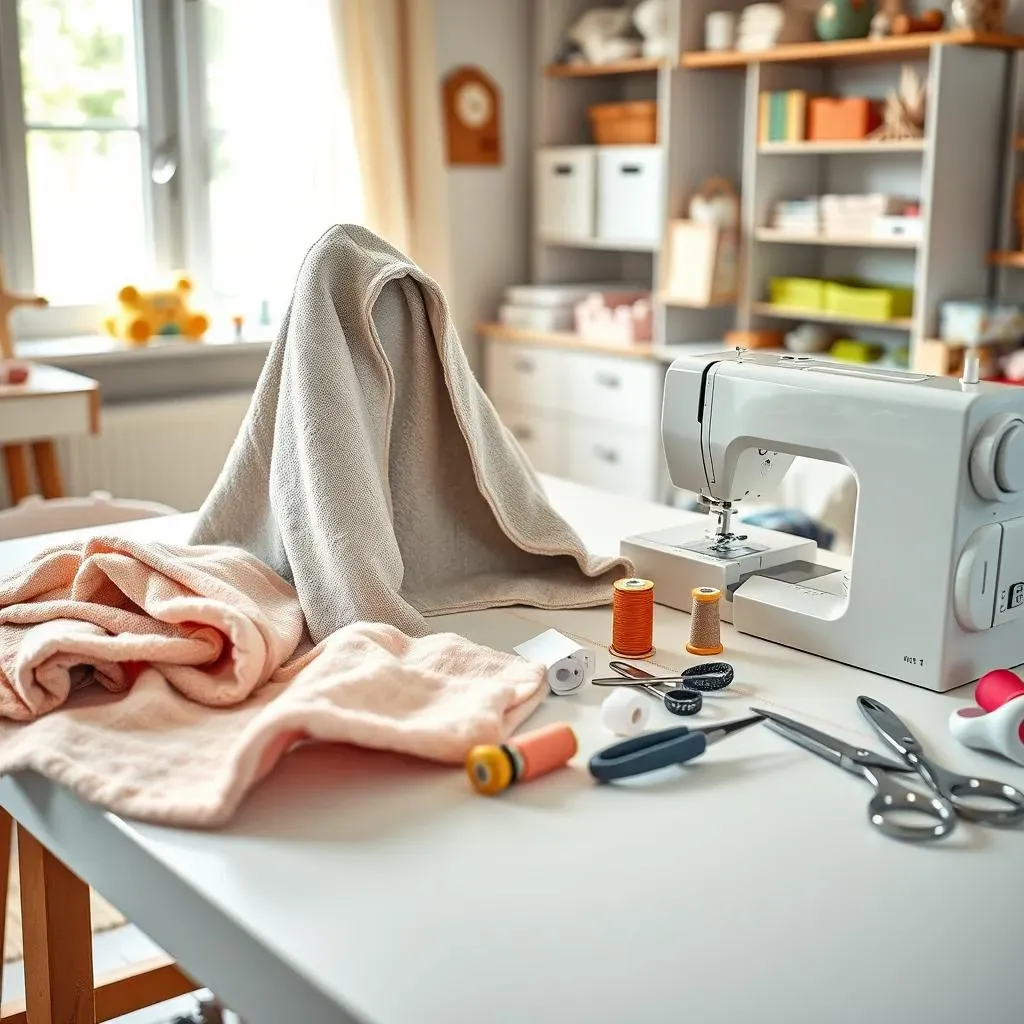
Choosing the Right Towels
First things first, let's talk towels! The star of the show is a good-sized bath towel – think at least 30x30 inches for a newborn, bigger if you want it to last longer. For the hood, a hand towel does the trick. But here's the fun part: think about softness! Terry cloth is classic, super absorbent, and cozy, but you could also explore bamboo or even a flannel-backed terry for extra gentleness against delicate skin. I personally love using organic cotton terry; it feels amazing and I know it's free from harsh chemicals.
Essential Sewing Notions and Tools
so you've got your towels. Now, for the supporting cast! You'll definitely need thread that matches your towel (or a fun contrasting color if you're feeling bold!). A good pair of scissors is a must – sharp fabric scissors make all the difference for clean cuts. And of course, your sewing machine! Don't worry if you only have a basic machine; a straight stitch and a zig-zag stitch are all you need. If you're hand-sewing, grab a comfortable needle and maybe a thimble to save your fingers.
- Towels: Bath towel (30x30 inches or larger), Hand towel
- Thread: Matching or contrasting color
- Scissors: Sharp fabric scissors
- Sewing Machine: Basic machine with straight and zig-zag stitch (or needle and thimble for hand-sewing)
- Measuring Tools: Ruler or measuring tape
- Pins or Clips: For holding fabric in place
- Marking Tool: Fabric marker or tailor's chalk
Optional Embellishments for a Personal Touch
This is where you can really let your creativity shine! Think about adding bias tape around the edges for a pop of color, or some fun ribbon trim along the hood. Appliqués are also super cute – little stars, animals, or even the baby's initials. Just make sure any embellishments you choose are soft, washable, and securely attached. I once made a hooded towel with little embroidered ducks on the hood; it was a huge hit!
Don't be afraid to experiment with different textures and patterns. Maybe a fun print for the hood lining, or a contrasting color for the binding. The possibilities are endless!
Creating the Hood: Simple Steps for Sewing Success
Creating the Hood: Simple Steps for Sewing Success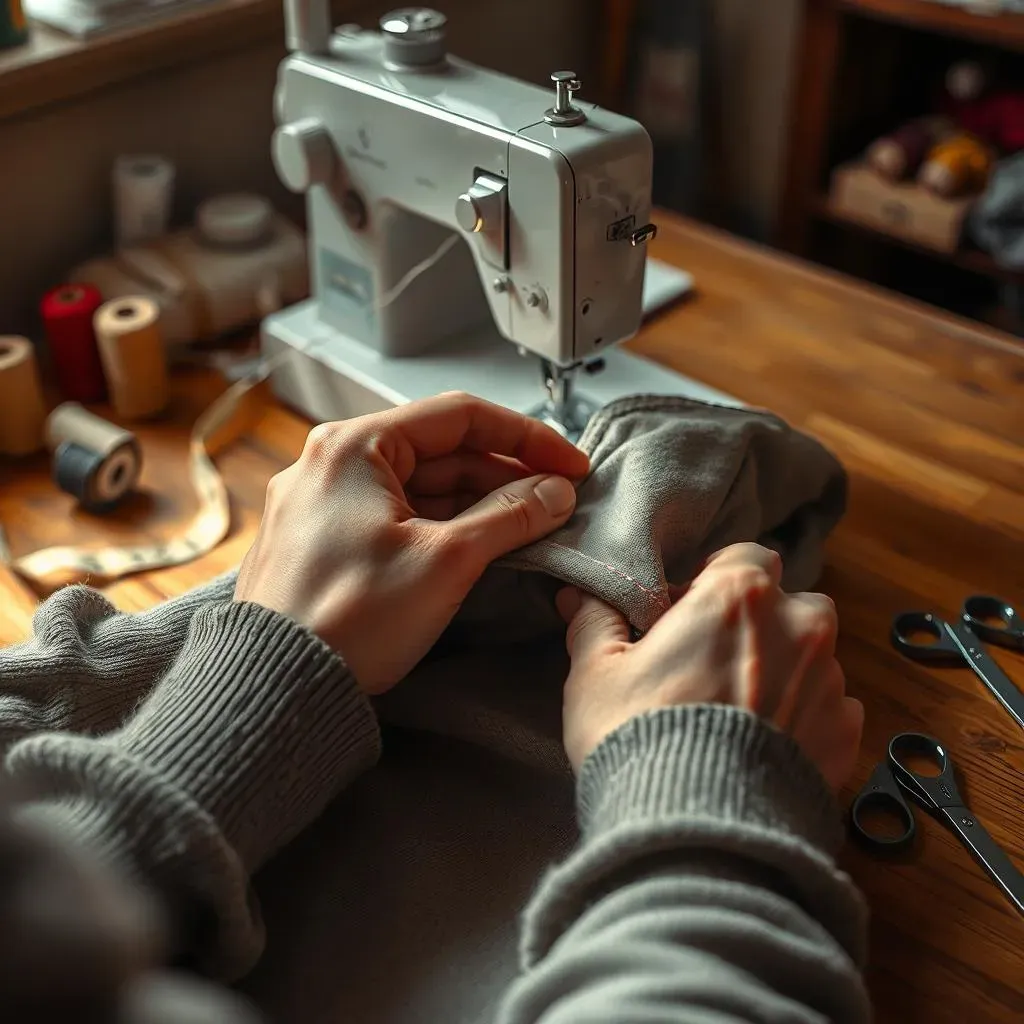
Cutting the Hood Pieces
Alright, let's get to the fun part – shaping that adorable hood! Grab your hand towel and lay it flat. First, if your hand towel has any decorative trim or edging, carefully cut it off to give you a clean rectangle. Now, fold the towel in half widthwise, making sure the right sides (the pretty sides!) are facing each other. This fold will be the top of the hood. From the folded edge, measure down about 7-8 inches (adjust based on the size of your bath towel – you want the hood to be proportionate). Then, cut along that line to create two identical hood pieces. It's like making a little hat!
If you want a rounded hood, you can gently curve the cut edges before separating the pieces. Just use a bowl or plate as a guide and trim along the curve. This will give your hood a softer, more professional look.
Sewing the Hood Together
Now it's time to sew those hood pieces together! Take your two hood pieces and pin them together along the curved or straight edge you just cut, keeping the right sides facing each other. Using your sewing machine (or needle and thread), sew along that edge with a straight stitch, using about a 1/2 inch seam allowance. A seam allowance is just the distance between the edge of the fabric and the line of stitching. Backstitch at the beginning and end of your seam to secure the stitches – this prevents the seam from unraveling. Once you've sewn the seam, trim any excess fabric close to the stitching.
To finish the seam and prevent fraying, you can use a zig-zag stitch along the raw edge, or use a serger if you have one. Another simple option is to fold the seam allowance over and sew it down with a straight stitch, creating a clean, enclosed seam. Turn the hood right side out, and give it a good press with an iron. Ta-da! You've got a hood!
Step | Action | Notes |
|---|---|---|
1 | Cut hand towel | Remove any decorative trim. |
2 | Fold and Cut | Fold in half, cut to create two hood pieces. |
3 | Sew Pieces Together | Sew along curved edge with a straight stitch. |
4 | Finish Seam | Use zig-zag or serger to prevent fraying. |
5 | Turn and Press | Turn right side out and press with an iron. |
Attaching the Hood to the Towel: A Seamless Finish
Attaching the Hood to the Towel: A Seamless Finish
Positioning the Hood
Alright, now that you've got your adorable little hood ready, it's time to attach it to the bath towel! Lay your bath towel flat, with the right side facing up. Find the center of the top edge of the towel – you can fold it in half widthwise to mark the center point with a pin or fabric marker. Now, take your hood and center it along that top edge, with the right side of the hood facing the right side of the towel. The curved edge of the hood should be pointing down towards the towel. Make sure the hood is centered and that the edges line up nicely with the edges of the towel. Pin the hood securely to the towel along that top edge, using plenty of pins to keep everything in place.
This step is super important because it determines how the hood will sit on the baby's head. Take your time and double-check that everything is aligned before you start sewing. A little extra attention here will make a big difference in the final result!
Sewing the Hood to the Towel
time to sew! Using your sewing machine, sew the hood to the towel along the pinned edge, using a straight stitch and a 1/2 inch seam allowance. Remember to backstitch at the beginning and end of the seam to secure the stitches. Once you've sewn the seam, remove the pins. Now, to reinforce the seam and give it a nice, clean finish, you can use a zig-zag stitch along the raw edge, or serge it if you have a serger. This will prevent the seam from fraying and make it more durable.
Another option is to fold the seam allowance up towards the hood and sew it down with a straight stitch, creating a clean, enclosed seam. This is a great way to add a professional touch to your hooded towel. And that's it! You've successfully attached the hood to the towel! Give it a good press with an iron to flatten the seam and make it look extra neat.
Step | Action | Notes |
|---|---|---|
1 | Center Hood | Align hood with the center of the towel's top edge. |
2 | Pin in Place | Securely pin the hood to the towel. |
3 | Sew with Straight Stitch | Sew along the pinned edge with a 1/2 inch seam allowance. |
4 | Reinforce Seam | Use zig-zag stitch or serger to prevent fraying. |
5 | Press Seam | Iron the seam for a neat finish. |
Personalizing Your Baby Hooded Towel: Adding Flair
Personalizing Your Baby Hooded Towel: Adding Flair
Adding Appliqués and Embroidery
now for the really fun stuff! Appliqués and embroidery are fantastic ways to add a personal touch to your baby hooded towel. Think cute little animals, stars, flowers, or even the baby's initials. You can buy pre-made appliqués at most craft stores, or you can create your own using fabric scraps. For embroidery, you can either hand-embroider a design or use an embroidery machine if you have one. If you're new to embroidery, start with a simple design and work your way up to more complex patterns. I once embroidered a little sailboat onto a hooded towel for a friend's baby, and it was a huge hit!
When adding appliqués, make sure to use a fusible adhesive to attach them to the towel before sewing them on. This will keep them from shifting around while you're sewing. Use a zig-zag stitch to sew around the edges of the appliqué, making sure to catch all the edges. For embroidery, use a stabilizer on the back of the towel to prevent the fabric from puckering. And remember, always use soft, baby-friendly thread!
"The beauty of handmade lies in its imperfections."
Adding Trim and Binding
Another great way to personalize your baby hooded towel is by adding trim and binding. Bias tape is a classic choice for binding the edges of the towel, and it comes in a wide variety of colors and patterns. You can also use ribbon, lace, or even pom-pom trim to add a fun and playful touch. When choosing trim, make sure it's soft, washable, and securely attached. Nobody wants a pom-pom coming off in the washing machine!
To attach binding, simply fold the bias tape over the edge of the towel and pin it in place. Then, sew along the edge of the binding with a straight stitch, making sure to catch both the front and back of the binding. For ribbon or lace trim, you can either sew it directly onto the towel or use a fusible adhesive to attach it first. Get creative and experiment with different types of trim to create a truly unique baby hooded towel!
Personalization Method | Materials Needed | Tips |
|---|---|---|
Appliqués | Fabric scraps, fusible adhesive, thread | Use fusible adhesive to secure appliqué before sewing. |
Embroidery | Embroidery floss, needle, stabilizer | Use a stabilizer to prevent fabric from puckering. |
Trim/Binding | Bias tape, ribbon, lace | Choose soft, washable trim. |
Caring for Your Handmade Baby Hooded Towel: Tips & Tricks
Caring for Your Handmade Baby Hooded Towel: Tips & Tricks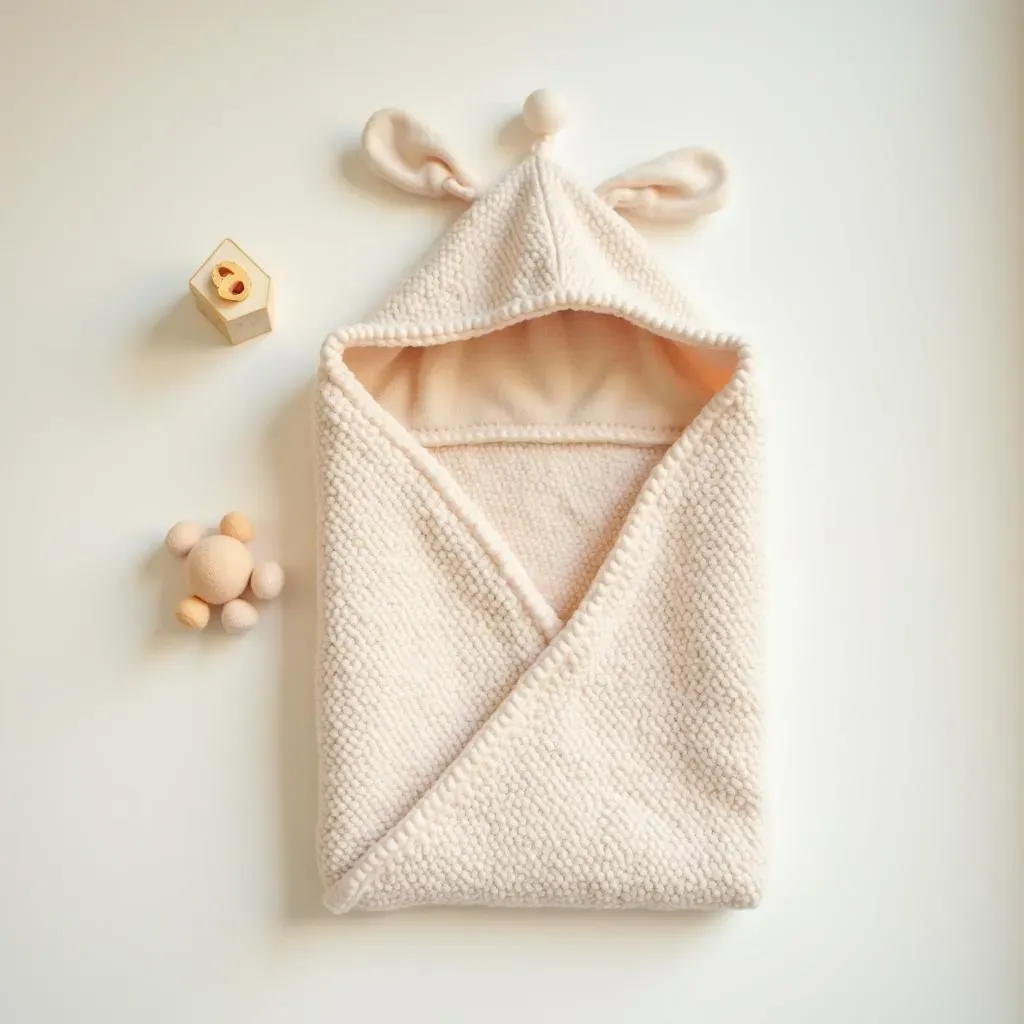
Washing Instructions for Longevity
Alright, you've poured your heart into making this adorable hooded towel, so let's make sure it lasts! When it comes to washing, gentle is key. Opt for a mild, baby-friendly detergent – those harsh chemicals can irritate sensitive skin and break down the fabric over time. I always recommend washing on a delicate cycle with cold or lukewarm water. Hot water can cause shrinkage and fading, especially if you've used bright colors or appliqués. And avoid using bleach or fabric softeners, as they can also damage the fabric and reduce its absorbency.
For extra protection, you can wash the towel inside a mesh laundry bag. This will prevent it from snagging on other items in the wash and keep those delicate embellishments safe and sound. And remember to wash the towel separately from items with zippers or Velcro, as they can cause pilling and damage to the fabric.
Drying Dos and Don'ts
When it comes to drying your handmade hooded towel, air drying is always the best option. Simply hang it up to dry in a well-ventilated area, away from direct sunlight. This will help to preserve the color and shape of the towel, and it's also gentler on the fabric than machine drying. If you're short on time, you can tumble dry on a low setting, but be sure to remove the towel promptly once it's dry to prevent wrinkles and shrinkage.
Avoid using dryer sheets, as they can leave a residue on the towel that reduces its absorbency. And never iron the towel directly, especially if you've added appliqués or embroidery. If you need to remove wrinkles, you can steam the towel or iron it on a low setting with a pressing cloth.
Care Tip | Do | Don't |
|---|---|---|
Washing | Use mild detergent, delicate cycle, cold/lukewarm water. | Use bleach or fabric softeners. |
Drying | Air dry or tumble dry on low. | Use dryer sheets or iron directly. |
Storage Solutions to Keep it Fresh
Once your baby hooded towel is clean and dry, it's important to store it properly to keep it fresh and ready for use. Fold the towel neatly and store it in a clean, dry place, away from moisture and dust. A linen closet or dresser drawer is a perfect spot. You can also store the towel in a breathable cotton bag to protect it from dust and pests.
Avoid storing the towel in a plastic bag, as this can trap moisture and lead to mildew. And if you're not planning on using the towel for a while, you can freshen it up by placing a sachet of lavender or cedar chips in the storage area. These natural scents will help to keep the towel smelling clean and fresh.
Wrapping Up Your DIY Baby Hooded Towel Project
Congratulations, you've successfully learned how to make a hooded towel for baby! From selecting the perfect materials to adding those personal touches, you've created something truly special. This project is not only a practical addition to your baby care routine but also a heartfelt gift that will be cherished for years to come. So go ahead, wrap your little one in the warmth and comfort of your handmade creation, and enjoy those precious post-bath snuggles!