Table of Contents
Spilled milk, pureed carrots, rogue puffs – babyhood is a beautiful mess. As parents, grandparents, or anyone who loves a little one, we're constantly searching for ways to make life a bit easier (and cleaner!). That's where this guide comes in. Forget store-bought bibs that are either too flimsy or too expensive; we're diving into a simple, satisfying DIY project: how to make baby bibs out of hand towels. Yes, you read that right! Those soft, absorbent hand towels you already have lying around can be transformed into adorable and practical baby bibs with just a few basic sewing skills.
Gathering Supplies to Make Baby Bibs from Hand Towels
Gathering Supplies to Make Baby Bibs from Hand Towels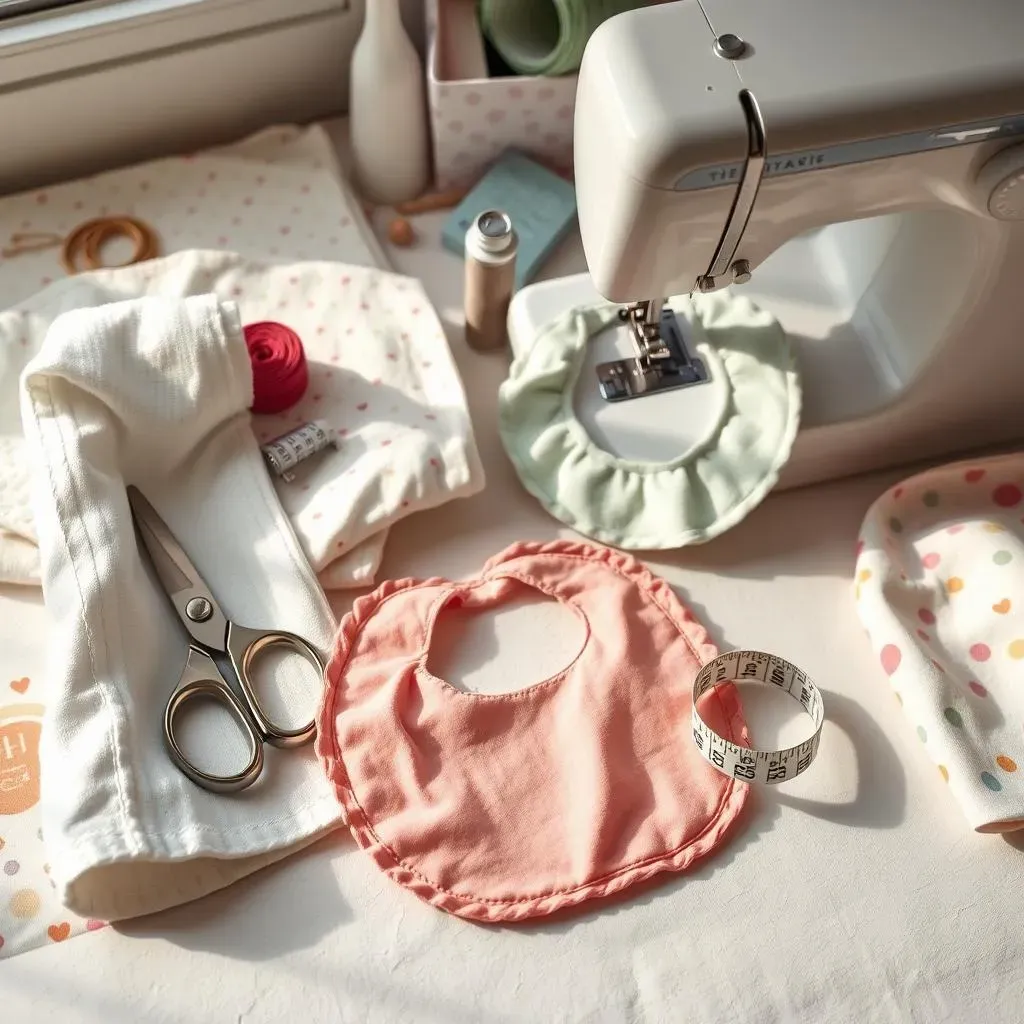
Choosing the Right Towel
First things first, you'll need the star of the show: a hand towel! But not just any hand towel will do. Look for something soft and absorbent, like a cotton or terry cloth towel. Think about the thickness too; you want something that will actually catch those inevitable spills and dribbles, but not so bulky that it's uncomfortable for the baby to wear. I personally love using slightly worn towels – they tend to be softer and more pliable than brand new ones. Plus, it's a great way to give an old towel a new life!
Consider the size of the towel as well. A standard hand towel is usually a good starting point, but you can also use smaller fingertip towels for smaller bibs, or larger bath towels if you want to make a bigger, more protective bib for messy eaters. Just remember to adjust the pattern accordingly.
One thing I've found helpful is to pre-wash the towel before you start cutting and sewing. This will help to shrink it and remove any excess lint, ensuring that your finished bib is the right size and won't shed all over the baby's clothes.
Essential Sewing Notions
towel acquired! Now let's talk about the other necessities for your bib-making adventure. You'll definitely need some basic sewing supplies. A sewing machine is ideal, as it will make the process much faster and easier, but you can also sew these bibs by hand if you're feeling patient (or if you don't own a machine). Beyond that, you'll need:
- Scissors or a rotary cutter: For cutting the towel and fabric.
- Thread: Choose a color that complements your towel.
- Pins: To hold the fabric in place while you sew.
- A measuring tape or ruler: For accurate measurements.
- A marking pen or pencil: To trace your pattern onto the towel.
Don't skimp on quality when it comes to your thread. A good quality thread will prevent breakage and ensure that your seams are strong and durable. I recommend using a cotton or polyester thread that is designed for general sewing.
Neckline Options and Fasteners
Now, for the neckline – the most important part of the bib, besides the towel itself! You've got a few options here, depending on your skill level and desired look. For a simple and comfortable neckline, you can use a stretchy knit fabric, like jersey or ribbing. This will allow the bib to easily slip over the baby's head without being too tight or restrictive.
Alternatively, you can use bias tape to create a more finished and professional-looking neckline. Bias tape is a strip of fabric that is folded and pressed to create a neat edge. It's available in a variety of colors and patterns, so you can easily find something that matches your towel. Finally, you'll need some kind of fastener to keep the bib securely in place. Snaps, Velcro, or even simple ties are all great options. Snaps are durable and easy to use, but require a special tool to install. Velcro is quick and convenient, but can sometimes irritate sensitive skin. Ties are a classic choice, but may not be as secure as snaps or Velcro.
Fastener Type | Pros | Cons |
|---|---|---|
Snaps | Durable, easy to use | Requires special tool |
Velcro | Quick, convenient | Can irritate skin |
Ties | Classic, simple | May not be as secure |
StepbyStep Guide: Cutting and Shaping Your Towel Bib
StepbyStep Guide: Cutting and Shaping Your Towel Bib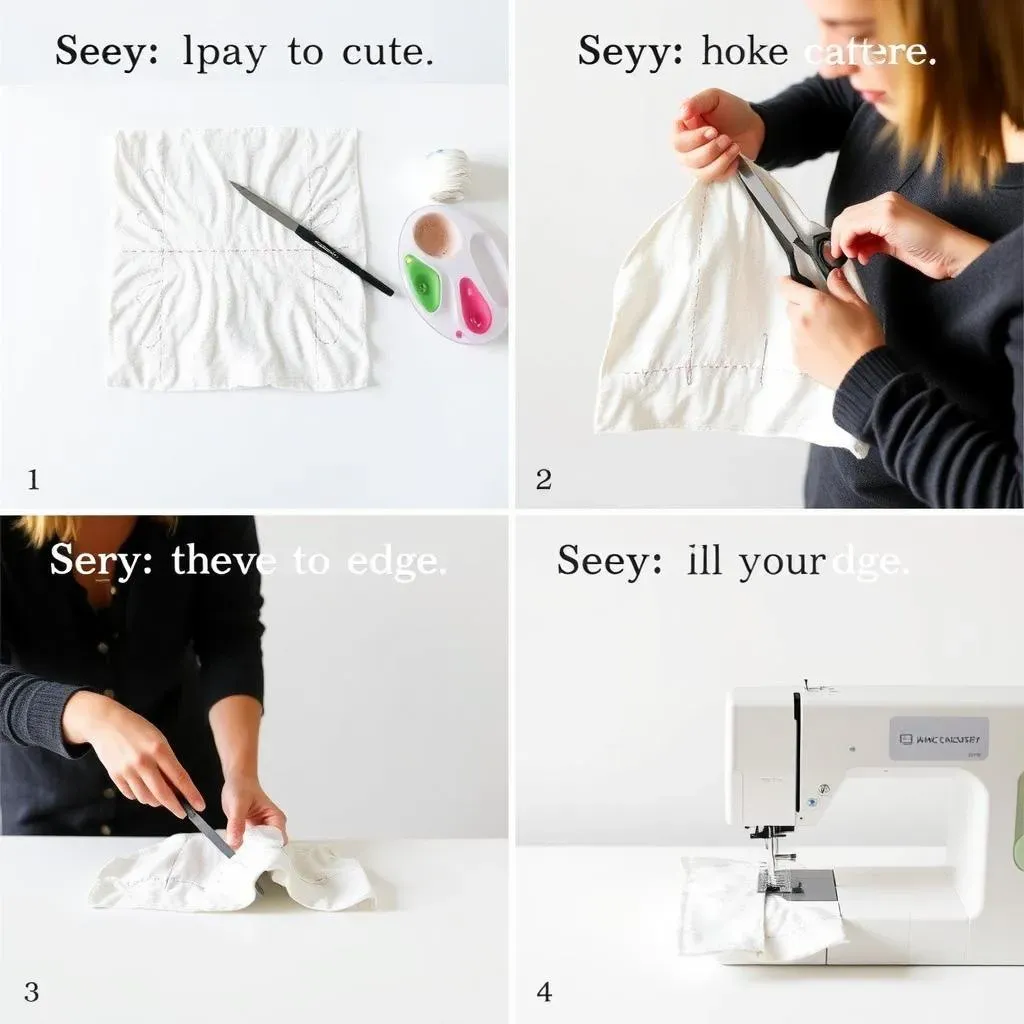
Finding the Perfect Bib Pattern
Alright, you've got your towel and supplies – now comes the fun part: shaping the bib! You could freehand it, but I highly recommend using a pattern, especially for your first few bibs. You can find tons of free bib patterns online with a quick search. Look for one that's specifically designed for a hand towel, or one that you can easily adapt. Alternatively, if you have a bib that you already love, you can simply trace it onto a piece of paper to create your own custom pattern. Just make sure to add a little extra seam allowance (about 1/4 inch) around the edges.
Once you've found or created your pattern, print it out or draw it onto a piece of sturdy paper or cardboard. This will make it easier to trace onto the towel and will ensure that your bibs are consistent in shape and size.
Tracing and Cutting Your Bib Shape
Time to transform that towel! Lay your towel flat on a clean, even surface. Place your pattern on top of the towel, making sure it's positioned where you want it. Pin the pattern to the towel to prevent it from shifting while you trace. Using a marking pen or pencil, carefully trace around the edges of the pattern. Be as precise as possible to ensure that your bib has a nice, clean shape.
Once you've traced the pattern, remove the pins and carefully cut along the traced lines using sharp scissors or a rotary cutter. If you're using scissors, try to cut in long, smooth strokes to avoid jagged edges. If you're using a rotary cutter, be sure to use a cutting mat to protect your work surface.
Pro Tip: If you're making multiple bibs, you can fold the towel in half and cut two bibs at once! Just make sure to pin the layers together securely to prevent them from shifting.
Dealing with Towel Edges
Now, you might be wondering about the edges of the towel. Most hand towels have finished edges, which is great because it saves you some work! You can simply incorporate these finished edges into your bib design. However, if you need to cut through a finished edge, or if you're using a towel that doesn't have finished edges, you'll need to finish the raw edges to prevent them from fraying. You can do this with a serger, a zigzag stitch on your sewing machine, or by binding the edges with bias tape (we'll talk more about binding later!).
Personally, I find that a serger is the quickest and easiest way to finish the edges of a towel bib. But if you don't have a serger, a zigzag stitch works just fine. Just make sure to use a fairly narrow zigzag stitch and to sew close to the edge of the fabric. This will help to prevent the edges from fraying and will give your bib a more professional look.
Alternatively, you can embrace the raw edges for a more rustic look. Some people even like to intentionally fray the edges a bit for a more distressed style. It's all about personal preference!
Adding a Neckline: Creating Comfort and Functionality for Baby Bibs
Adding a Neckline: Creating Comfort and Functionality for Baby Bibs
Preparing the Neckline Fabric
so you've got your bib shape all cut out – awesome! Now, let's talk about the neckline. This is where comfort really matters, because it's going to be rubbing against that sweet baby skin. Remember that stretchy knit fabric we talked about? Now's its time to shine! You'll need to cut a strip of this fabric to create the neckband. The length of the strip will depend on the size of your bib and how stretchy the fabric is, but a good starting point is around 18-20 inches long and 2-3 inches wide. It's always better to start a little longer – you can always trim it down later!
Before you start sewing, it's a good idea to pre-wash your knit fabric as well. Knit fabrics have a tendency to shrink, so pre-washing will prevent your neckband from becoming too tight after the first wash. Once the fabric is dry, fold it in half lengthwise, with the wrong sides together, and press. This will create a nice, clean fold that will serve as the center of your neckband.
Pro Tip: Use a walking foot on your sewing machine when working with knit fabrics. A walking foot helps to feed the fabric evenly, preventing it from stretching or puckering.
Fabric Type | Stretch Factor | Best Use |
|---|---|---|
Jersey Knit | High | Comfortable, easy to sew |
Rib Knit | Very High | Snug fit, good recovery |
Double Knit | Medium | Stable, less prone to rolling |
Attaching the Neckband
Alright, let's get that neckband attached! Find the center point of your bib's neckline and the center point of your folded neckband. Pin these two points together, with the raw edges of the neckband aligned with the raw edge of the bib. Now, pin the rest of the neckband to the bib neckline, easing the fabric as you go. You may need to stretch the neckband slightly to fit the curve of the neckline. This is what will give the bib its nice, snug fit.
Using a zigzag stitch (or a serger, if you have one), sew the neckband to the bib neckline, sewing through all layers of fabric. Be sure to backstitch at the beginning and end of your seam to secure the stitches. As you sew, continue to gently stretch the neckband to fit the curve of the neckline. This will help to prevent the neckline from puckering or gaping.
Once you've sewn the neckband all the way around, trim away any excess fabric from the neckband and the bib neckline. Then, turn the bib right side out and press the seam allowance towards the bib. This will help to create a nice, clean finish.
Alternative Neckline Finishes
Not feeling the knit neckband? No problem! There are plenty of other ways to finish the neckline of your towel bib. One popular option is to use bias tape. Bias tape is a strip of fabric that is cut on the bias (at a 45-degree angle to the grain of the fabric), which allows it to stretch and curve easily. You can find bias tape in a variety of colors and patterns at most fabric stores.
To use bias tape, simply unfold it and pin it to the raw edge of the bib neckline, with the right side of the bias tape facing the wrong side of the bib. Sew along the first fold line of the bias tape, catching all layers of fabric. Then, fold the bias tape over to the right side of the bib, encasing the raw edge of the neckline. Pin in place and stitch close to the edge of the bias tape to secure it.
Another option is to simply fold the raw edge of the neckline over to the wrong side of the bib and stitch it in place. This is a quick and easy option, but it may not be as durable or comfortable as a knit neckband or bias tape finish. If you choose this option, be sure to use a narrow hem and to stitch close to the folded edge to prevent the fabric from fraying.
Finishing Touches: Binding and Embellishing Your Hand Towel Bibs
Finishing Touches: Binding and Embellishing Your Hand Towel Bibs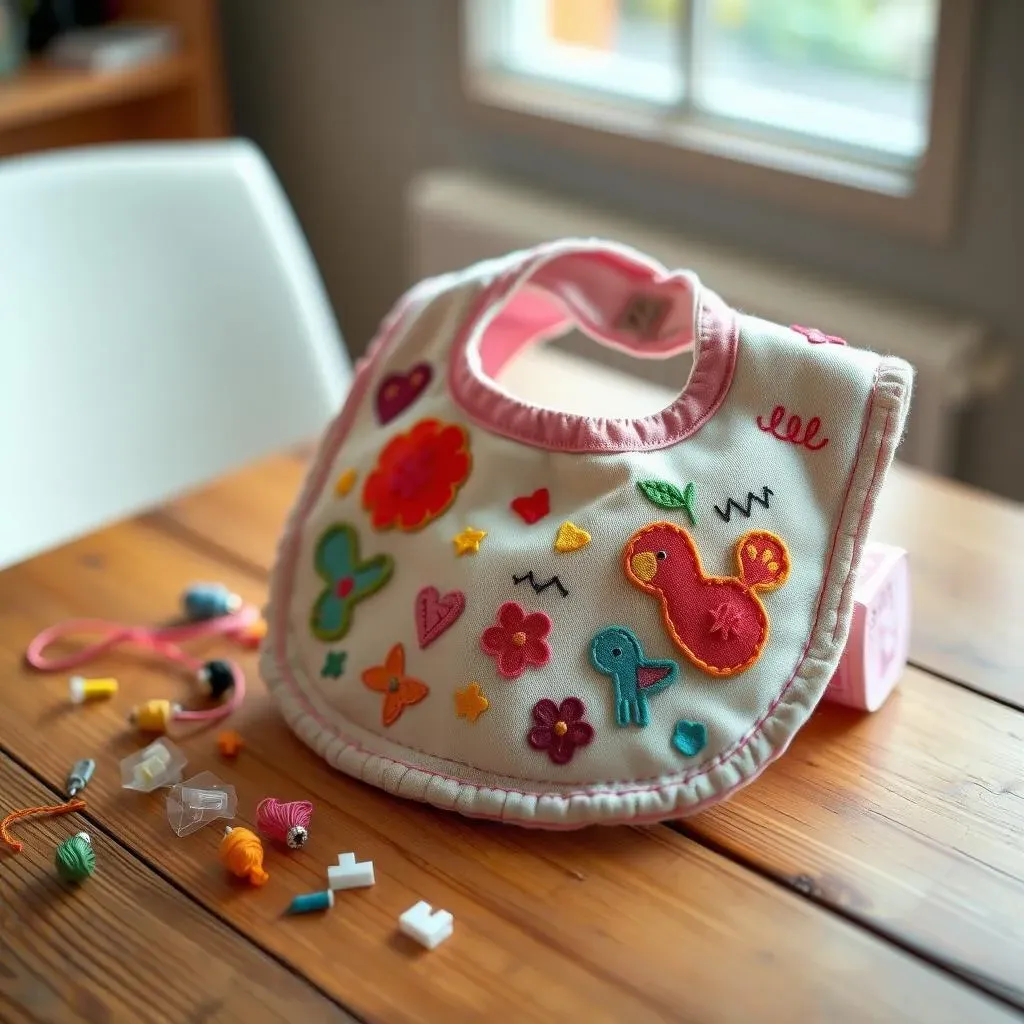
Binding the Edges for a Polished Look
Alright, you've got the neckline sorted, now let's talk about those edges! Binding the edges of your hand towel bib isn't just about aesthetics; it's about durability too. It prevents fraying and gives your bib a professional, finished look. Bias tape is your best friend here. You can find it in a rainbow of colors and patterns, so you can really get creative and add a pop of personality to your bib. Plus, it's super easy to work with, especially if you use a bias tape maker. Trust me, it's a game-changer!
To bind the edges, simply unfold the bias tape and pin it to the raw edge of the bib, with the right side of the bias tape facing the wrong side of the bib. Sew along the first fold line of the bias tape, catching all layers of fabric. Then, fold the bias tape over to the right side of the bib, encasing the raw edge of the neckline. Pin in place and stitch close to the edge of the bias tape to secure it. For corners, take your time and fold the bias tape neatly to create a crisp, clean finish.
Pro Tip: Use clips instead of pins to hold the bias tape in place. Clips are less likely to snag or distort the fabric, especially when working with thicker materials like towels.
Adding Embellishments: Personalizing Your Bibs
Now for the really fun part: embellishments! This is where you can really let your creativity shine and make your hand towel bibs truly unique. Think about adding some cute appliques, like animals, flowers, or even the baby's initials. You can find tons of adorable appliques at most fabric stores, or you can even make your own using scraps of fabric.
Another option is to add some embroidery. A simple embroidered design can add a touch of elegance and sophistication to your bib. If you're not comfortable with freehand embroidery, you can use an embroidery machine or even a simple embroidery hoop to create your design. Remember to use a stabilizer on the back of the fabric to prevent it from puckering or distorting.
And don't forget about fabric paint! Fabric paint is a great way to add bold, colorful designs to your bibs. You can use stencils to create precise patterns, or you can simply freehand your design. Just be sure to use a fabric paint that is designed for use on absorbent fabrics, and to follow the manufacturer's instructions carefully.
Embellishment Type | Difficulty Level | Materials Needed |
|---|---|---|
Appliques | Easy | Fabric scraps, fusible web, sewing machine |
Embroidery | Medium | Embroidery floss, needle, embroidery hoop |
Fabric Paint | Easy | Fabric paint, brushes, stencils (optional) |
Fastener Options: Snaps, Velcro, and Ties
Finally, let's talk about fasteners. You'll need some way to keep the bib securely in place, and you've got a few options to choose from. Snaps are a popular choice because they're durable and easy to use. However, you'll need a special snap pliers to install them. Velcro is another great option, especially if you want something that's quick and easy to use. However, Velcro can sometimes irritate sensitive skin, so be sure to use a soft, baby-friendly Velcro.
Ties are a classic choice, and they're super easy to make. Simply cut two strips of fabric and sew them to the corners of the bib. However, ties may not be as secure as snaps or Velcro, especially for wiggly babies.
Remember: Always test your chosen fastener to make sure it's secure and won't come undone easily. You don't want the baby to be able to pull the bib off and make an even bigger mess!
Creative Variations: Adapting the Hand Towel Bib for Different Needs
Creative Variations: Adapting the Hand Towel Bib for Different Needs
Oversized Bibs for Messy Eaters
Alright, so you've mastered the basic hand towel bib. Now let's get creative! One thing I've learned is that some babies are just messier than others. For those little food artists, you might want to consider making an oversized bib. Simply use a larger towel, like a bath towel or even a small beach towel, and adjust the pattern accordingly. The bigger the bib, the more coverage you'll get, and the less laundry you'll have to do! You can also add a waterproof backing to the bib to prevent liquids from soaking through to the baby's clothes. PUL (polyurethane laminate) fabric is a great option for this, as it's waterproof, breathable, and easy to sew.
Another trick for messy eaters is to add a crumb catcher to the bottom of the bib. This is simply a small pocket that catches any food that falls from the baby's mouth. You can make a crumb catcher by cutting a piece of fabric and sewing it to the bottom of the bib, creating a pouch. Be sure to use a fabric that's easy to wipe clean, like vinyl or laminated cotton.
Feature | Benefit | Best For |
|---|---|---|
Oversized Design | Maximum coverage | Messy eaters, pureed foods |
Waterproof Backing | Prevents soak-through | Liquids, spills |
Crumb Catcher | Catches dropped food | Self-feeding babies, finger foods |
Adaptive Bibs for Special Needs
Hand towel bibs aren't just for babies! They can also be adapted for older children or adults with special needs who may have difficulty keeping their clothes clean. For example, you can make a longer bib that provides more coverage for the lap, or you can add a Velcro closure in the back for easy on and off. You can also use thicker, more absorbent towels to create bibs that are better suited for catching larger spills or drool.
When adapting hand towel bibs for special needs, it's important to consider the individual's specific needs and abilities. For example, someone with limited mobility may benefit from a bib that's easy to put on and take off, while someone with sensory sensitivities may prefer a bib made from soft, natural fabrics without any scratchy embellishments. By taking the time to customize your hand towel bibs, you can create a practical and comfortable solution that helps to improve the individual's quality of life.
Wrapping Up: Homemade Bibs, Happy Babies
So, you've successfully transformed ordinary hand towels into adorable and functional baby bibs! From selecting the perfect towel to adding those personalized embellishments, you've created something truly special and practical. Knowing how to make baby bibs out of hand towels not only saves you money but also allows you to tailor each bib to your baby’s specific needs and style. The next time you're faced with a messy mealtime or searching for a thoughtful, handmade gift, remember this simple guide. With a little creativity and a few basic sewing skills, you can continue to create a wardrobe of unique and useful bibs that will keep your little one clean and comfortable. Happy sewing, and happy feeding!